How to Patch a Hole in Drywall
Drywall is a popular material used for interior walls and ceilings due to its ease of installation and affordability. However, it can easily get damaged, whether from accidental impacts, screws, or other everyday mishaps. If you’ve encountered a hole in your drywall, the good news is that patching it up is a relatively simple process that most homeowners can handle.
Why Patch Holes in Drywall?
Patching holes in drywall is essential for several reasons:
- Aesthetic appeal — Holes in drywall make your walls look unkempt. Repairing them improves the overall appearance of your space.
- Prevents further damage — If left unpatched, holes can lead to further damage, such as weakening of the surrounding drywall or moisture issues.
- Home value — A well-maintained home is more appealing to potential buyers, and clean, hole-free walls enhance your property’s value.
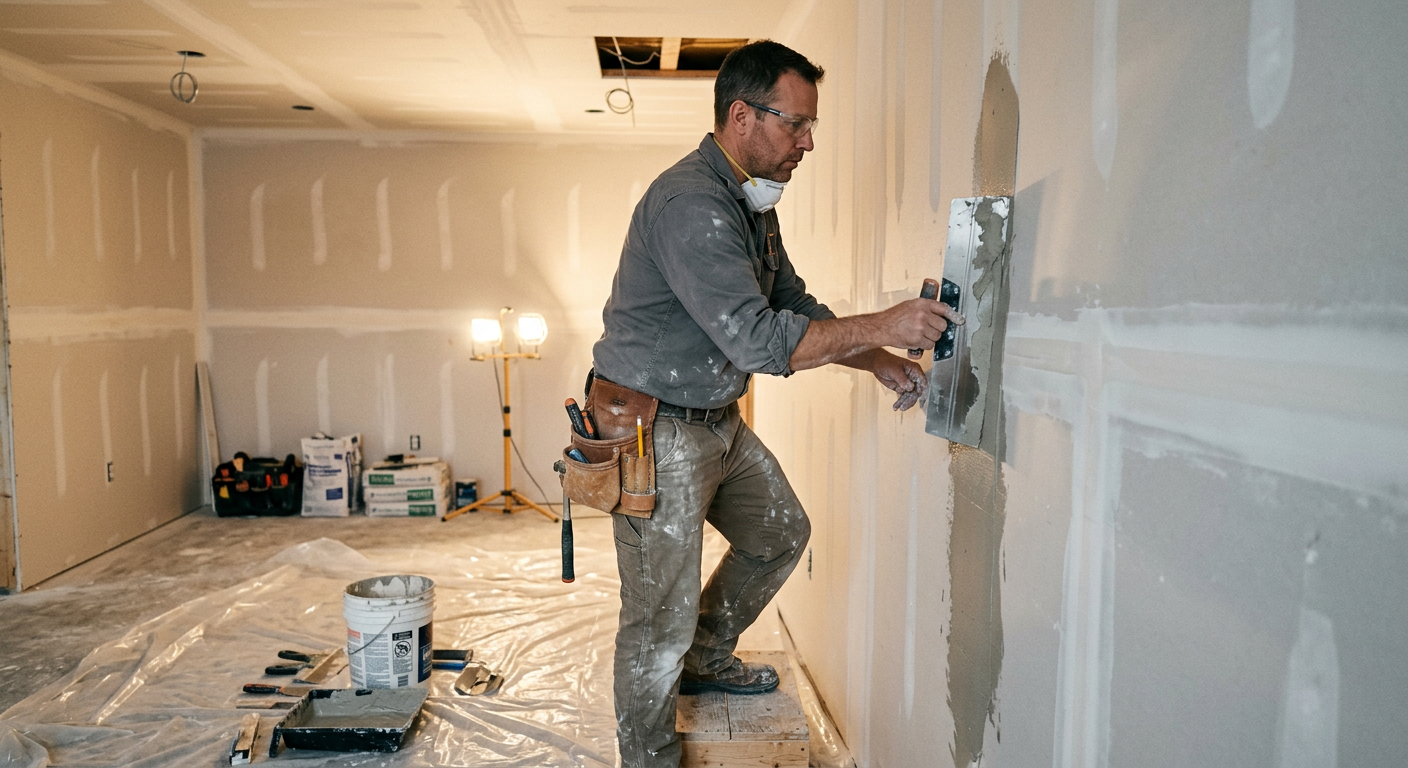
Tools and Materials Needed
Before you begin patching, gather the following items:
- Drywall patch or drywall compound
- Putty knife or drywall knife
- Sandpaper or sanding block (120-grit and 220-grit)
- Drywall tape (for larger repairs)
- Joint compound
- Primer and paint
- Paintbrush or roller
- Utility knife or drywall saw
- Measuring tape
- Patching compound or spackle (for small holes)
Step-by-Step Patching Guide
Step 1: Prepare the Hole
Use a utility knife to cut away any jagged edges around the hole. For larger holes (more than a couple inches), cut a clean, square opening to help the patch adhere better and create a more professional result.
Step 2: Apply a Drywall Patch
For holes larger than 1/2 inch in diameter:
- Measure the hole and cut a piece of drywall slightly larger than the opening.
- Place the patch over the hole and secure it with drywall screws spaced 6-8 inches apart.
- Ensure the patch sits flush with the surrounding wall surface.
For smaller holes, pre-made adhesive patches or spackling compound are usually sufficient. Simply apply the patch or fill the hole with spackle using a putty knife.
Step 3: Tape the Seams
If you’ve installed a drywall patch, tape the seams between the patch and the existing wall:
- Place drywall tape over the seams and press gently into place.
- For paper tape, apply a thin layer of joint compound over the tape to embed it firmly.
Step 4: Apply Joint Compound
- Spread a thin, even layer of joint compound over the repair using a putty knife.
- Smooth it as much as possible to reduce the amount of sanding needed later.
- Feather the edges outward to blend smoothly with the surrounding wall.
- Allow to dry completely — typically several hours (check the manufacturer’s instructions).
Step 5: Sand the Area
Once the compound is completely dry:
- Start with 120-grit sandpaper, then finish with 220-grit for a smooth surface.
- Sand in circular motions to avoid leaving visible marks.
- Inspect the area for imperfections. If needed, apply an additional thin layer of compound, let it dry, and sand again.
Step 6: Apply Primer and Paint
- Apply a primer coat to the patched area using a brush or roller. Primer ensures the paint adheres evenly and prevents the repair from showing through.
- Let the primer dry completely.
- Apply paint that matches your wall color. Two coats may be necessary for even, consistent coverage.
Step 7: Clean Up
Wash your tools promptly and dispose of any leftover materials properly. Joint compound and spackle can be stored for future touch-ups if sealed tightly.
Common Mistakes to Avoid
- Overloading with compound — Apply thin layers and allow complete drying between each application. Thick layers crack and take much longer to dry.
- Skipping sanding — This crucial step ensures the repair blends smoothly with the surrounding wall. Skipping it will leave visible bumps and ridges.
- Mismatched paint — Test the paint color on a small area before committing. Wall paint can change color over time due to sun exposure and aging.
- Poor tape application — Ensure drywall tape is properly embedded in joint compound. Loose or wrinkled tape will telegraph through the finished surface.
Frequently Asked Questions
Can I patch a hole without a patch? Yes, small holes (under 1/2 inch) can be filled with joint compound or spackle alone. Larger holes require a drywall patch for structural support.
How long does joint compound take to dry? Typically 4-6 hours, though waiting a full 24 hours before sanding and painting yields the best results.
What’s the best type of joint compound? Pre-mixed compound works well for most repairs. Setting-type compound dries faster and is better suited for larger repairs.
Should I hire a professional? Most homeowners can handle small to medium drywall repairs as a DIY project. Consider professional help for particularly large holes, water-damaged areas, or repairs requiring structural work. Our drywall installation services cover everything from small patches to full room finishing.
How do I fix drywall cracks? Apply joint compound over the crack and sand smooth. Larger or recurring cracks may require drywall tape for a lasting repair.
Need Help With Drywall or Home Repairs?
If your drywall damage is part of a larger renovation project — or you’d simply rather leave it to the pros — Pacific Remodeling is here to help. We handle drywall repair as part of our comprehensive remodeling services throughout Puyallup, WA. Contact us today or call (253) 392-9266 to discuss your project.
Ready to Start Your Project?
Contact Pacific Remodeling for a free, no-obligation estimate on your kitchen or bathroom remodeling project.
Get Your Free Estimate