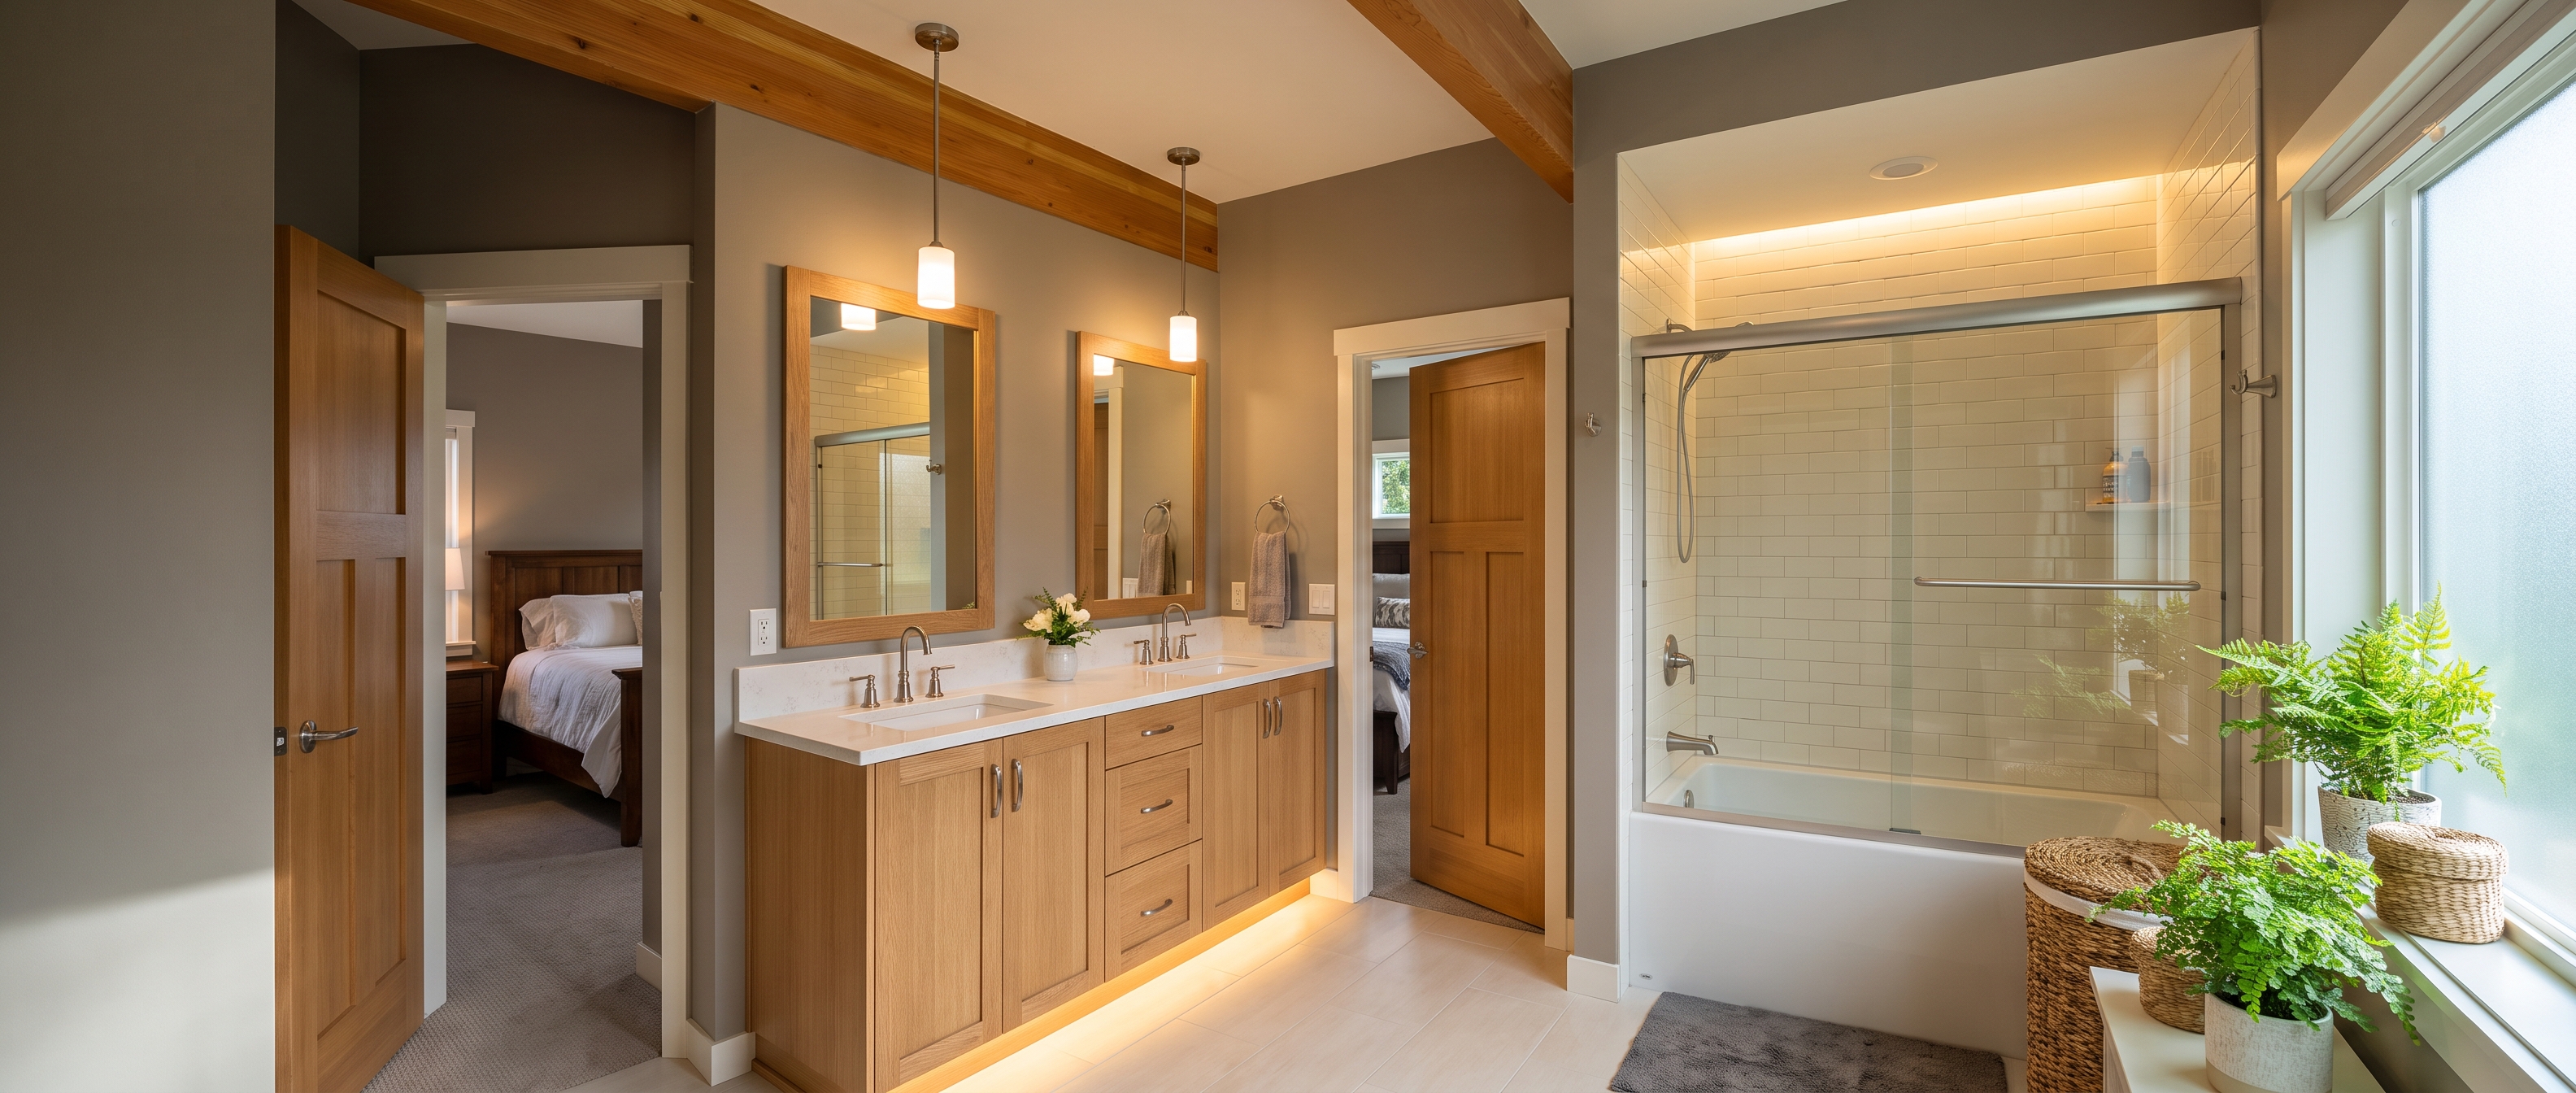
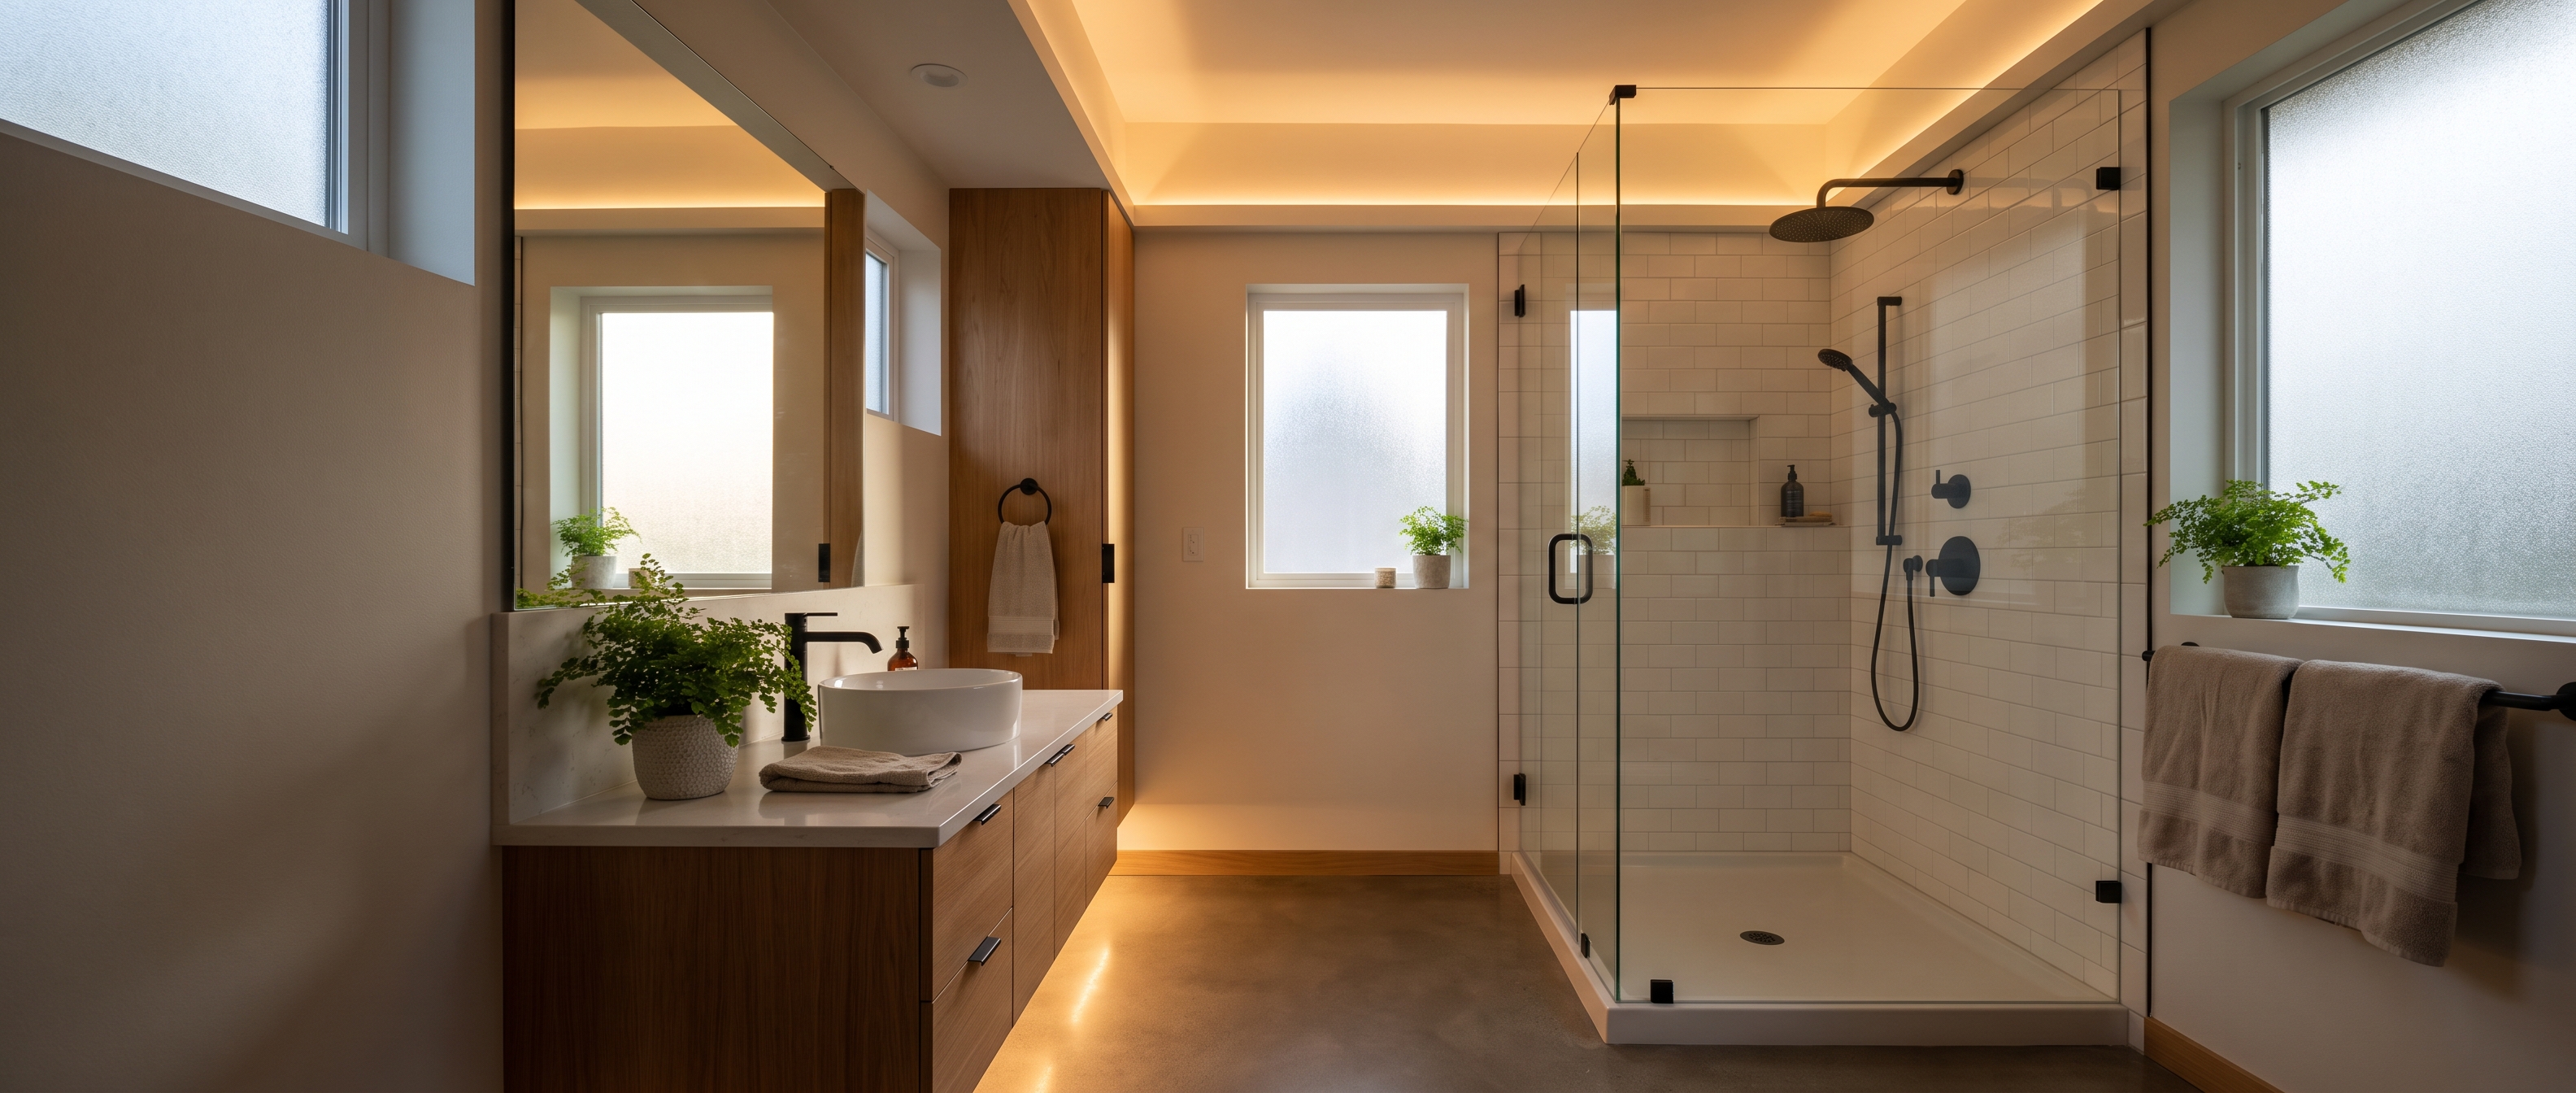
A full bathroom lighting overhaul in Puyallup runs $1,800 to $4,500 for a standard 5x8 to 8x10 bath, and the single best move you can make is layered lighting. That means three jobs handled by three different fixtures: recessed cans overhead for ambient light, sconces or a bar flanking the mirror for task light at the face, and an accent strip under the vanity or in a niche. Most of the bathroom lighting ideas and costs I’m about to walk you through come back to that one principle.
I’m Brad Zemke. I’ve spent 20+ years in the trades as a third-generation carpenter, and I’ve run Pacific Remodeling here in Pierce County since 2018. The numbers below are what I actually quote on local jobs, not a national average pulled off a calculator.
Bathroom Lighting Ideas and Costs at a Glance
Here is what each piece runs installed in the Puyallup area, assuming existing wiring is already in the wall. New wiring costs more, and I’ll cover that below.
| Fixture or Upgrade | Typical Installed Cost |
|---|---|
| Vanity sconces (pair, flanking mirror) | $300 - $800 |
| Vertical LED vanity bar (single, side-mount) | $250 - $600 |
| Backlit anti-fog LED mirror | $450 - $1,200 |
| Recessed can light (LED, per can) | $150 - $300 |
| Shower-rated recessed can (wet-location) | $180 - $350 |
| Exhaust fan and light combo | $350 - $750 |
| Dimmer or smart dimmer (per switch) | $125 - $275 |
| Full layered overhaul (5x8 to 8x10 bath) | $1,800 - $4,500 |
If a bid for a full lighting package comes in way under $1,800, something is missing. Usually it’s the wet-rated shower can, the dimmer, or the wiring labor nobody mentioned.
A few things drive the final number more than the fixtures themselves. The age of your home. Whether there’s attic or crawlspace access. And whether your panel can handle the added load. I’ll get into each.
Why Layered Lighting Beats One Big Fixture
The most common thing I see in older Puyallup and South Hill bathrooms is a single ceiling fixture trying to do every job. It can’t. One light overhead throws harsh shadows straight down, which is the worst possible angle for shaving or putting on makeup.
Layered lighting fixes that with three separate layers.
- Ambient light. Recessed cans or a flush ceiling fixture that fills the room evenly.
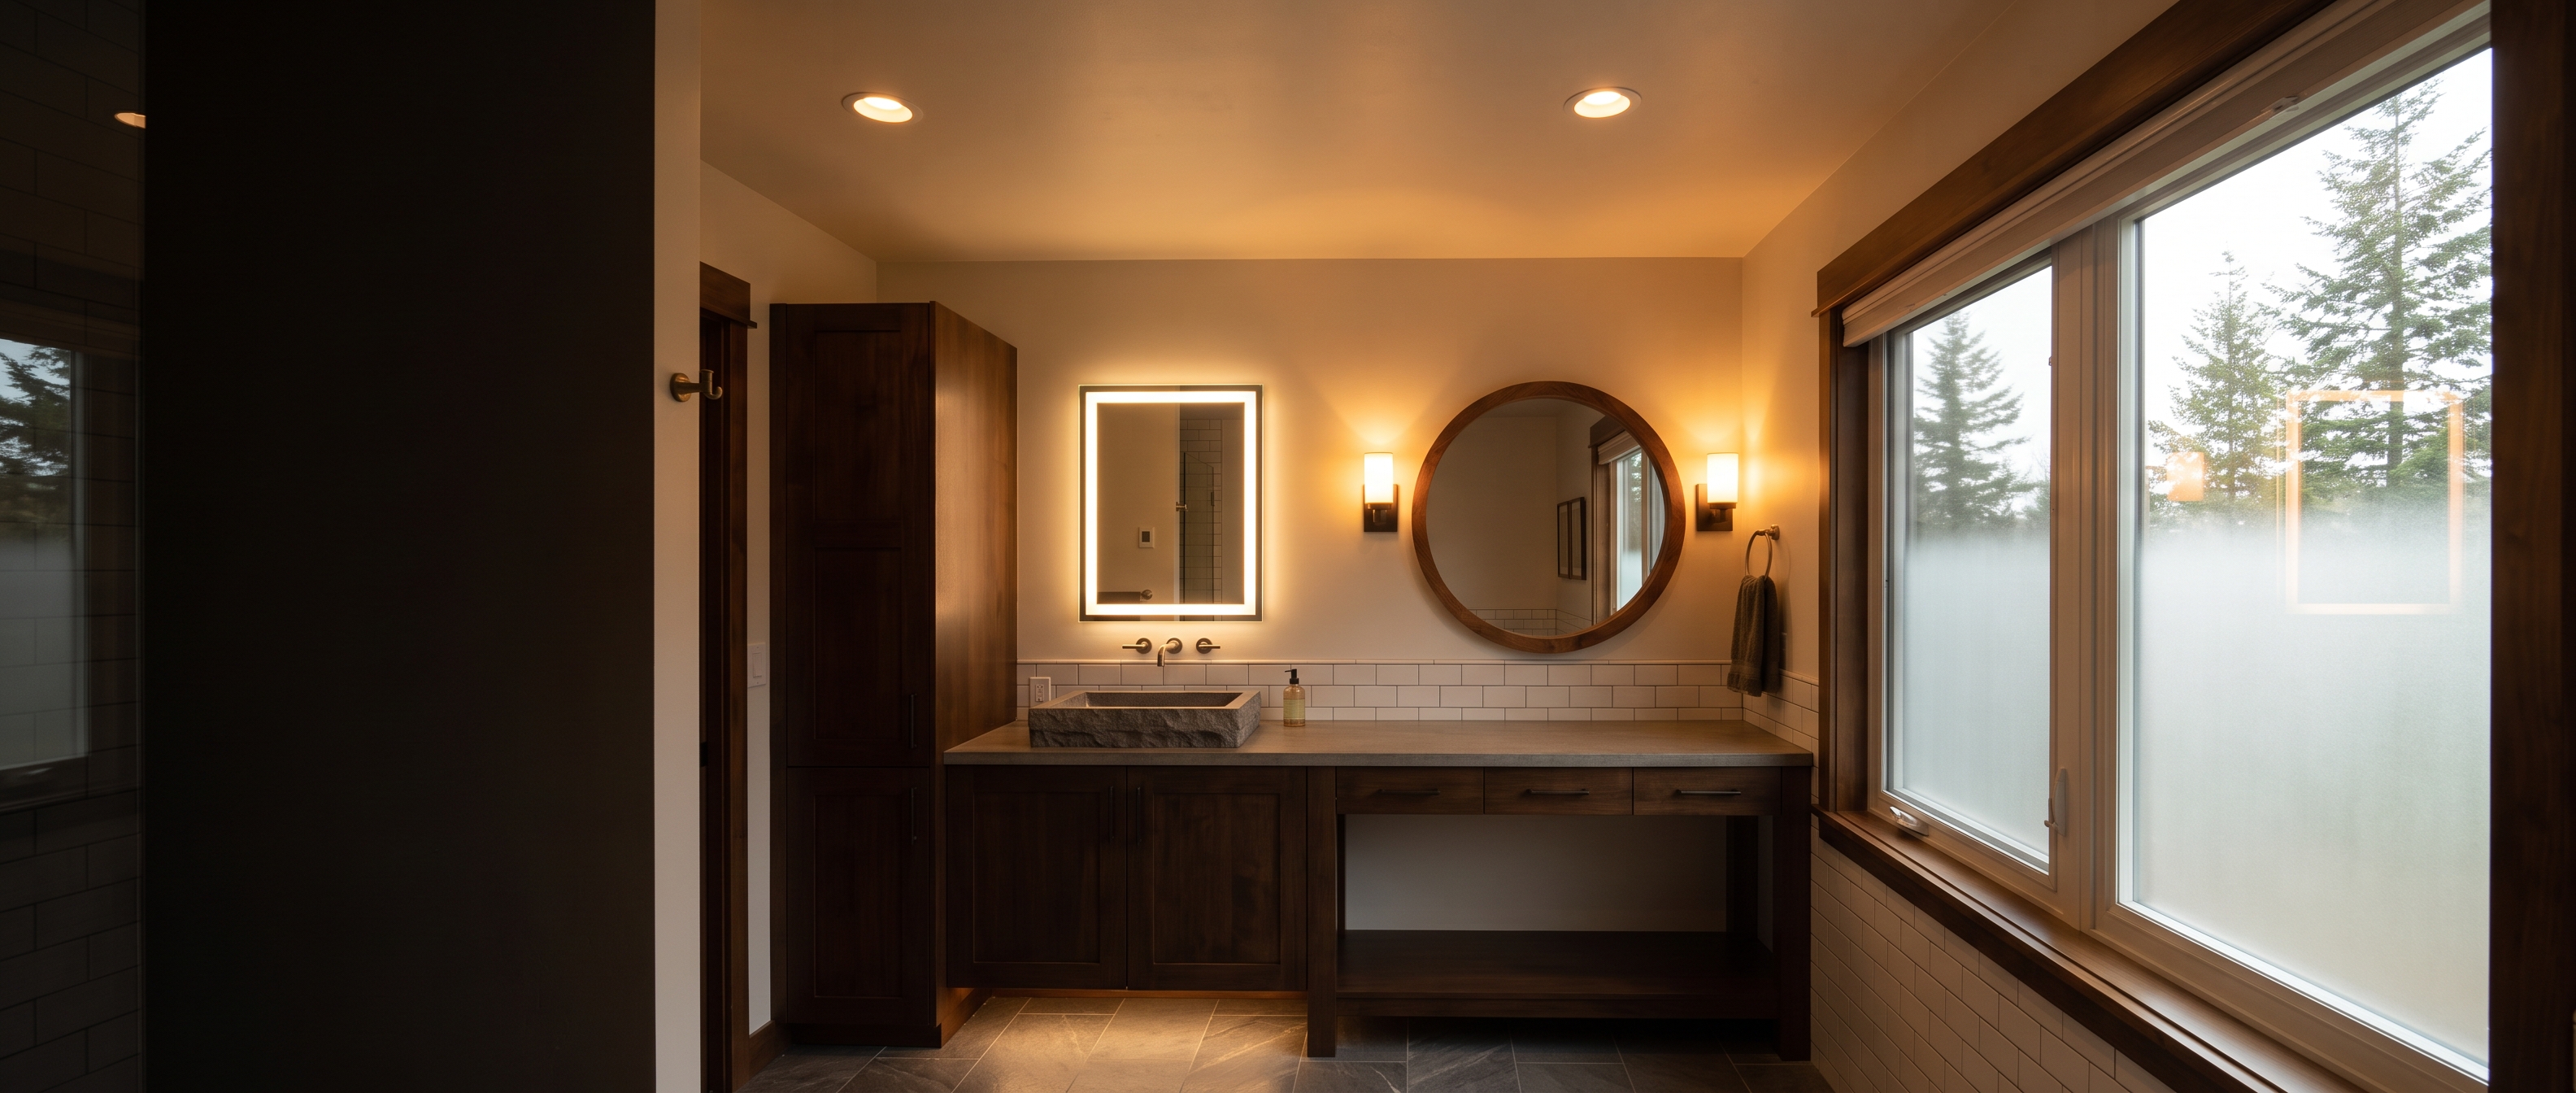
- Task light. Sconces or a bar at the mirror, hitting your face from the sides so there’s no under-eye shadow.
- Accent light. A toe-kick LED strip, an under-vanity glow, or a lit niche in the shower.
Here’s the thing. Most homeowners come to me planning to swap the one fixture they already have. That’s a miss. For a few hundred dollars more, adding a second layer changes how the whole room feels and works.
Where to Put Vanity Lights So You Don’t Get Shadows
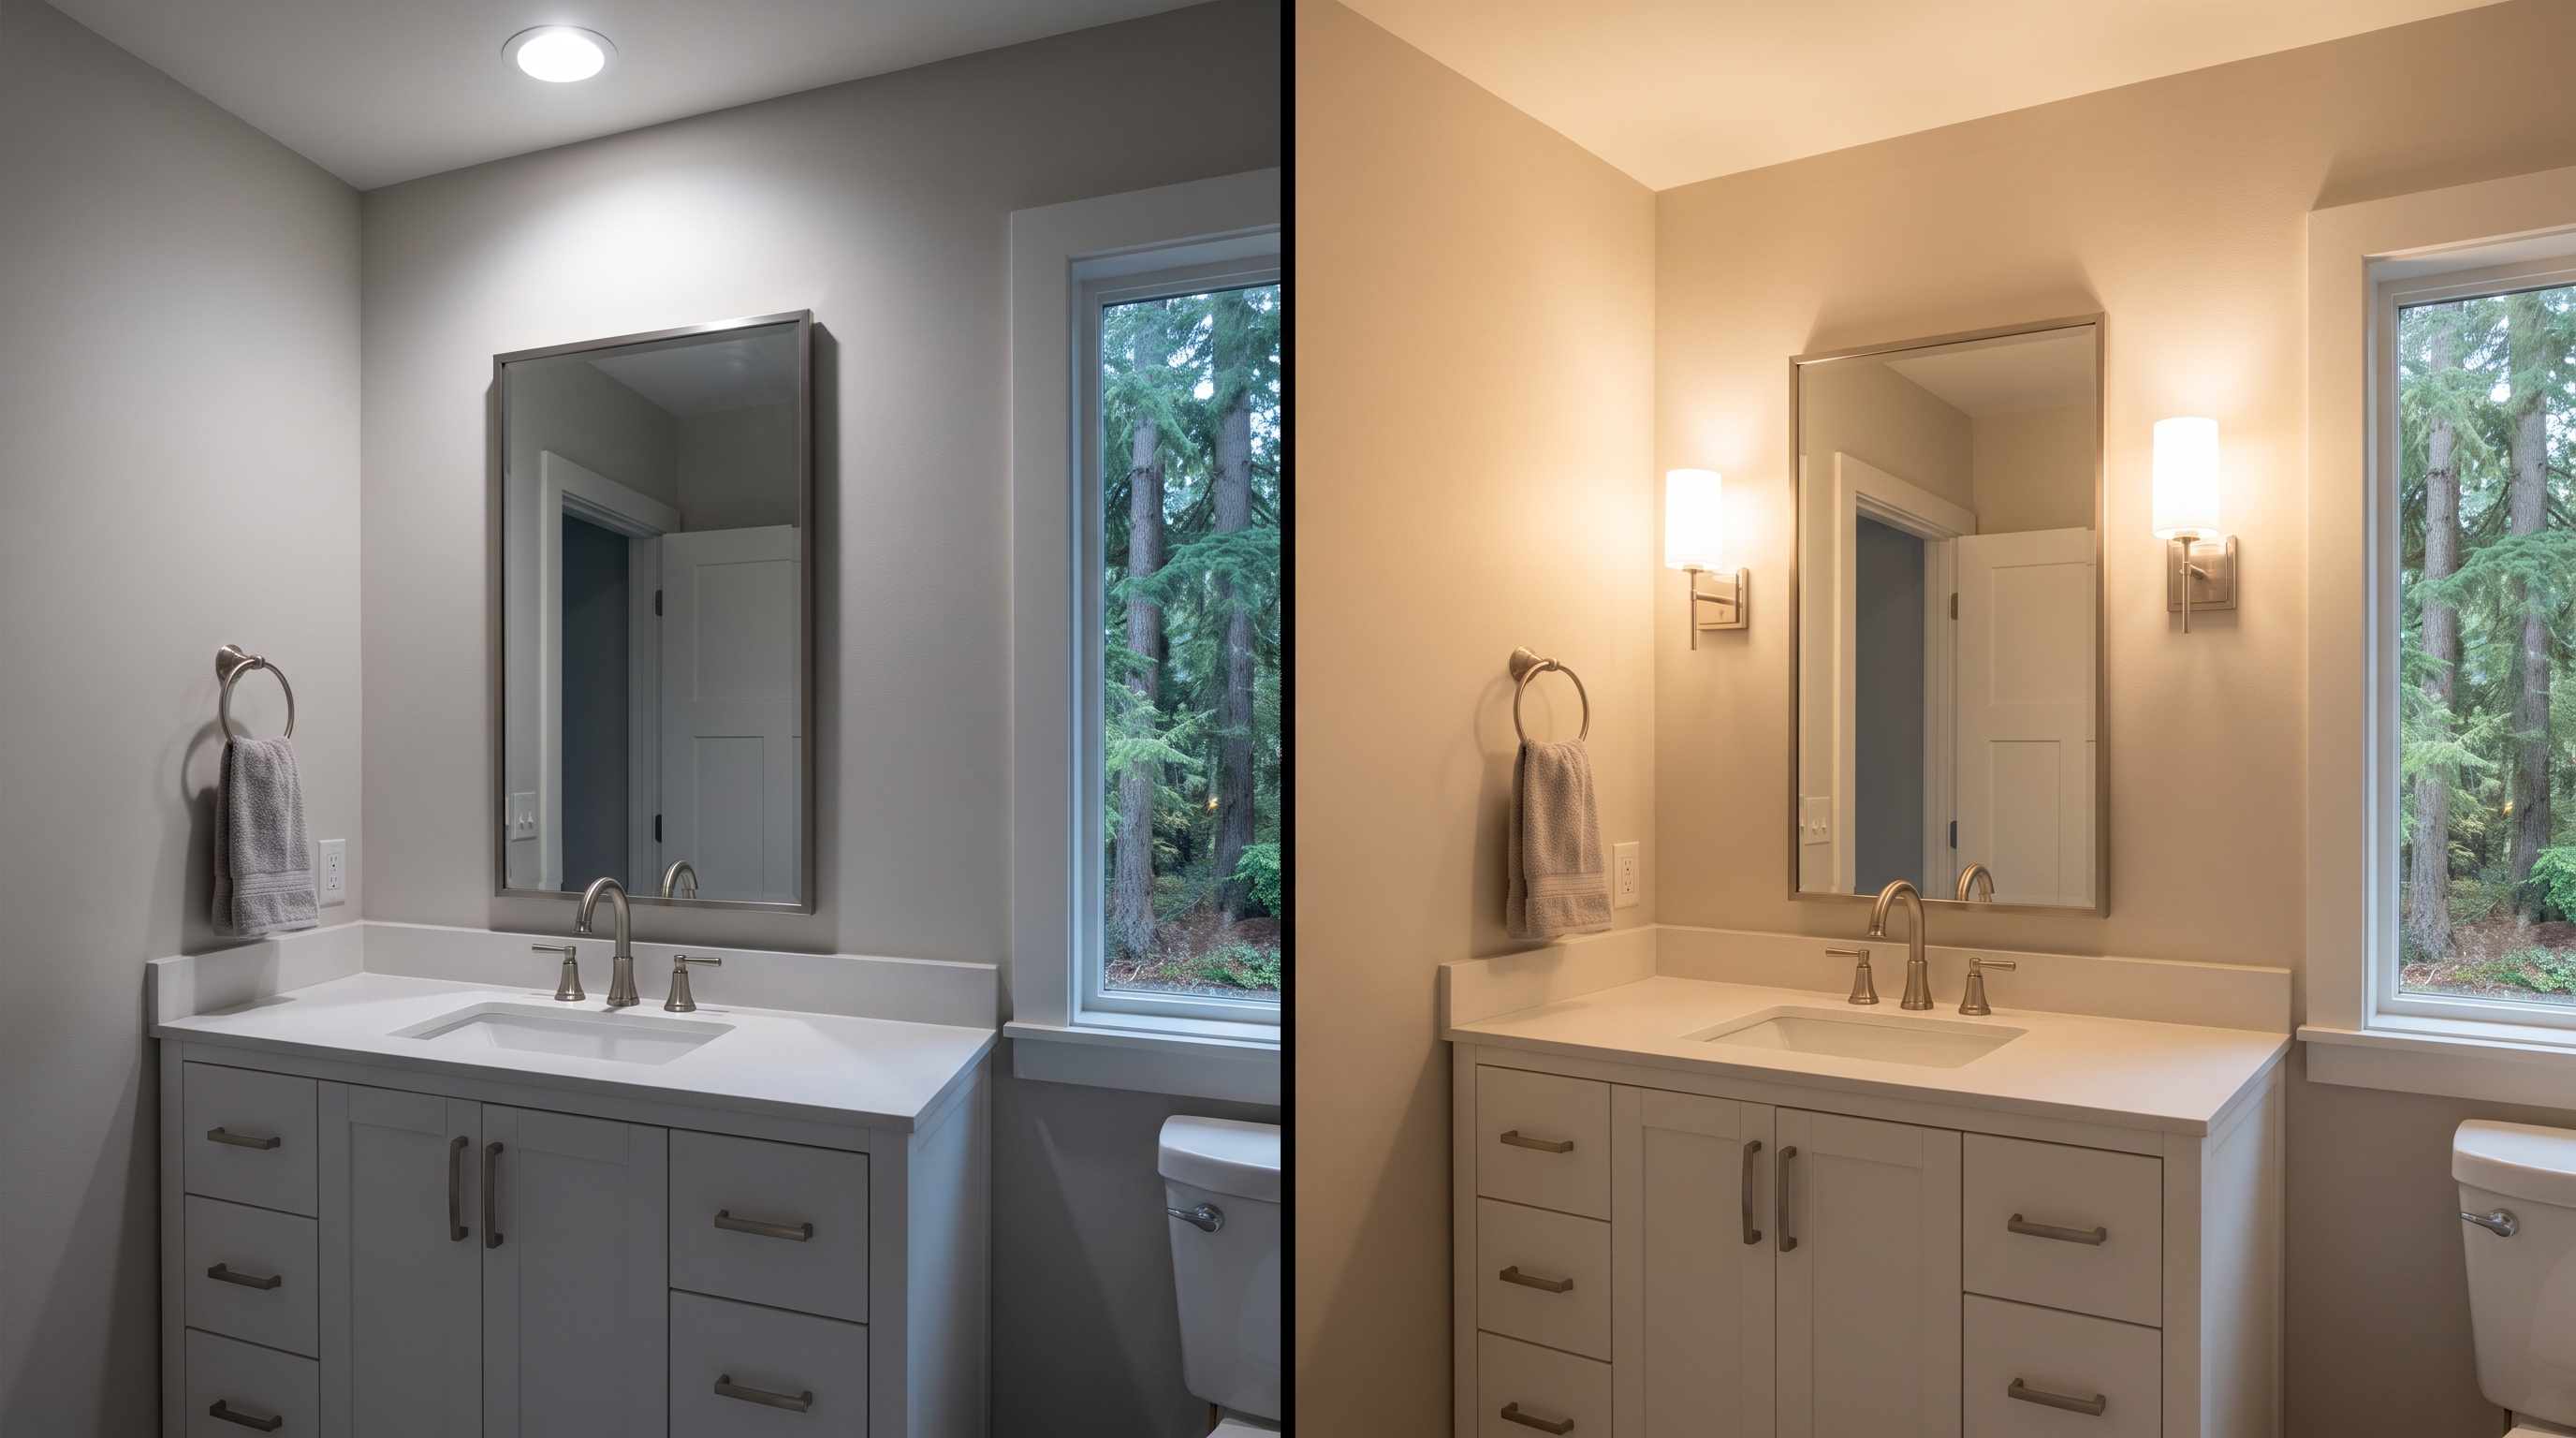
This is the mistake I fix most often, and it’s an easy one to get wrong. People mount vanity lights too high or only above the mirror. That lights the top of your head and leaves your face in shadow.
Mount sconces or a vanity bar to flank the mirror at roughly eye level. I aim for about 60 to 66 inches from the floor to the center of the fixture. Light hitting the face from both sides kills the shadows a single overhead light creates.
Good rule: if you can only afford one upgrade in the whole bathroom, make it side-mounted vanity lighting at eye level. It does more for daily use than anything else at that price.
Color Temperature and CRI: The Cheap Detail Most People Skip
You can buy a $600 fixture and still hate how you look in the mirror. The culprit is almost never the fixture. It’s the color temperature and the CRI of the bulb.
Color temperature is measured in Kelvin. For a vanity, I spec 2700K to 3000K, which is warm white. That range renders skin tones accurately. Go up to 3500K or higher and the light reads cold and clinical, which is a regret I hear about constantly from people who chose “brighter” without understanding the tradeoff.
CRI is the Color Rendering Index. Aim for 90+ CRI at the vanity. Lower CRI makes makeup application and grooming genuinely harder, and most homeowners have never heard the term until I bring it up.
- Vanity bulbs rated 2700K to 3000K (warm white)
- CRI 90 or higher at the mirror
- Dimmable modules if you want “spa” ambiance
- Matching color temperature across every fixture in the room
That last one matters. Mixing a 2700K vanity with a 4000K ceiling can makes the room look off, and people can’t always say why. I keep every layer in the same Kelvin range.
If you’re already thinking about finishes and fixtures together, my bathroom vanity buying guide covers how to pair the vanity itself with the lighting so they read as one design.
What Older Puyallup Homes Hide Behind the Wall
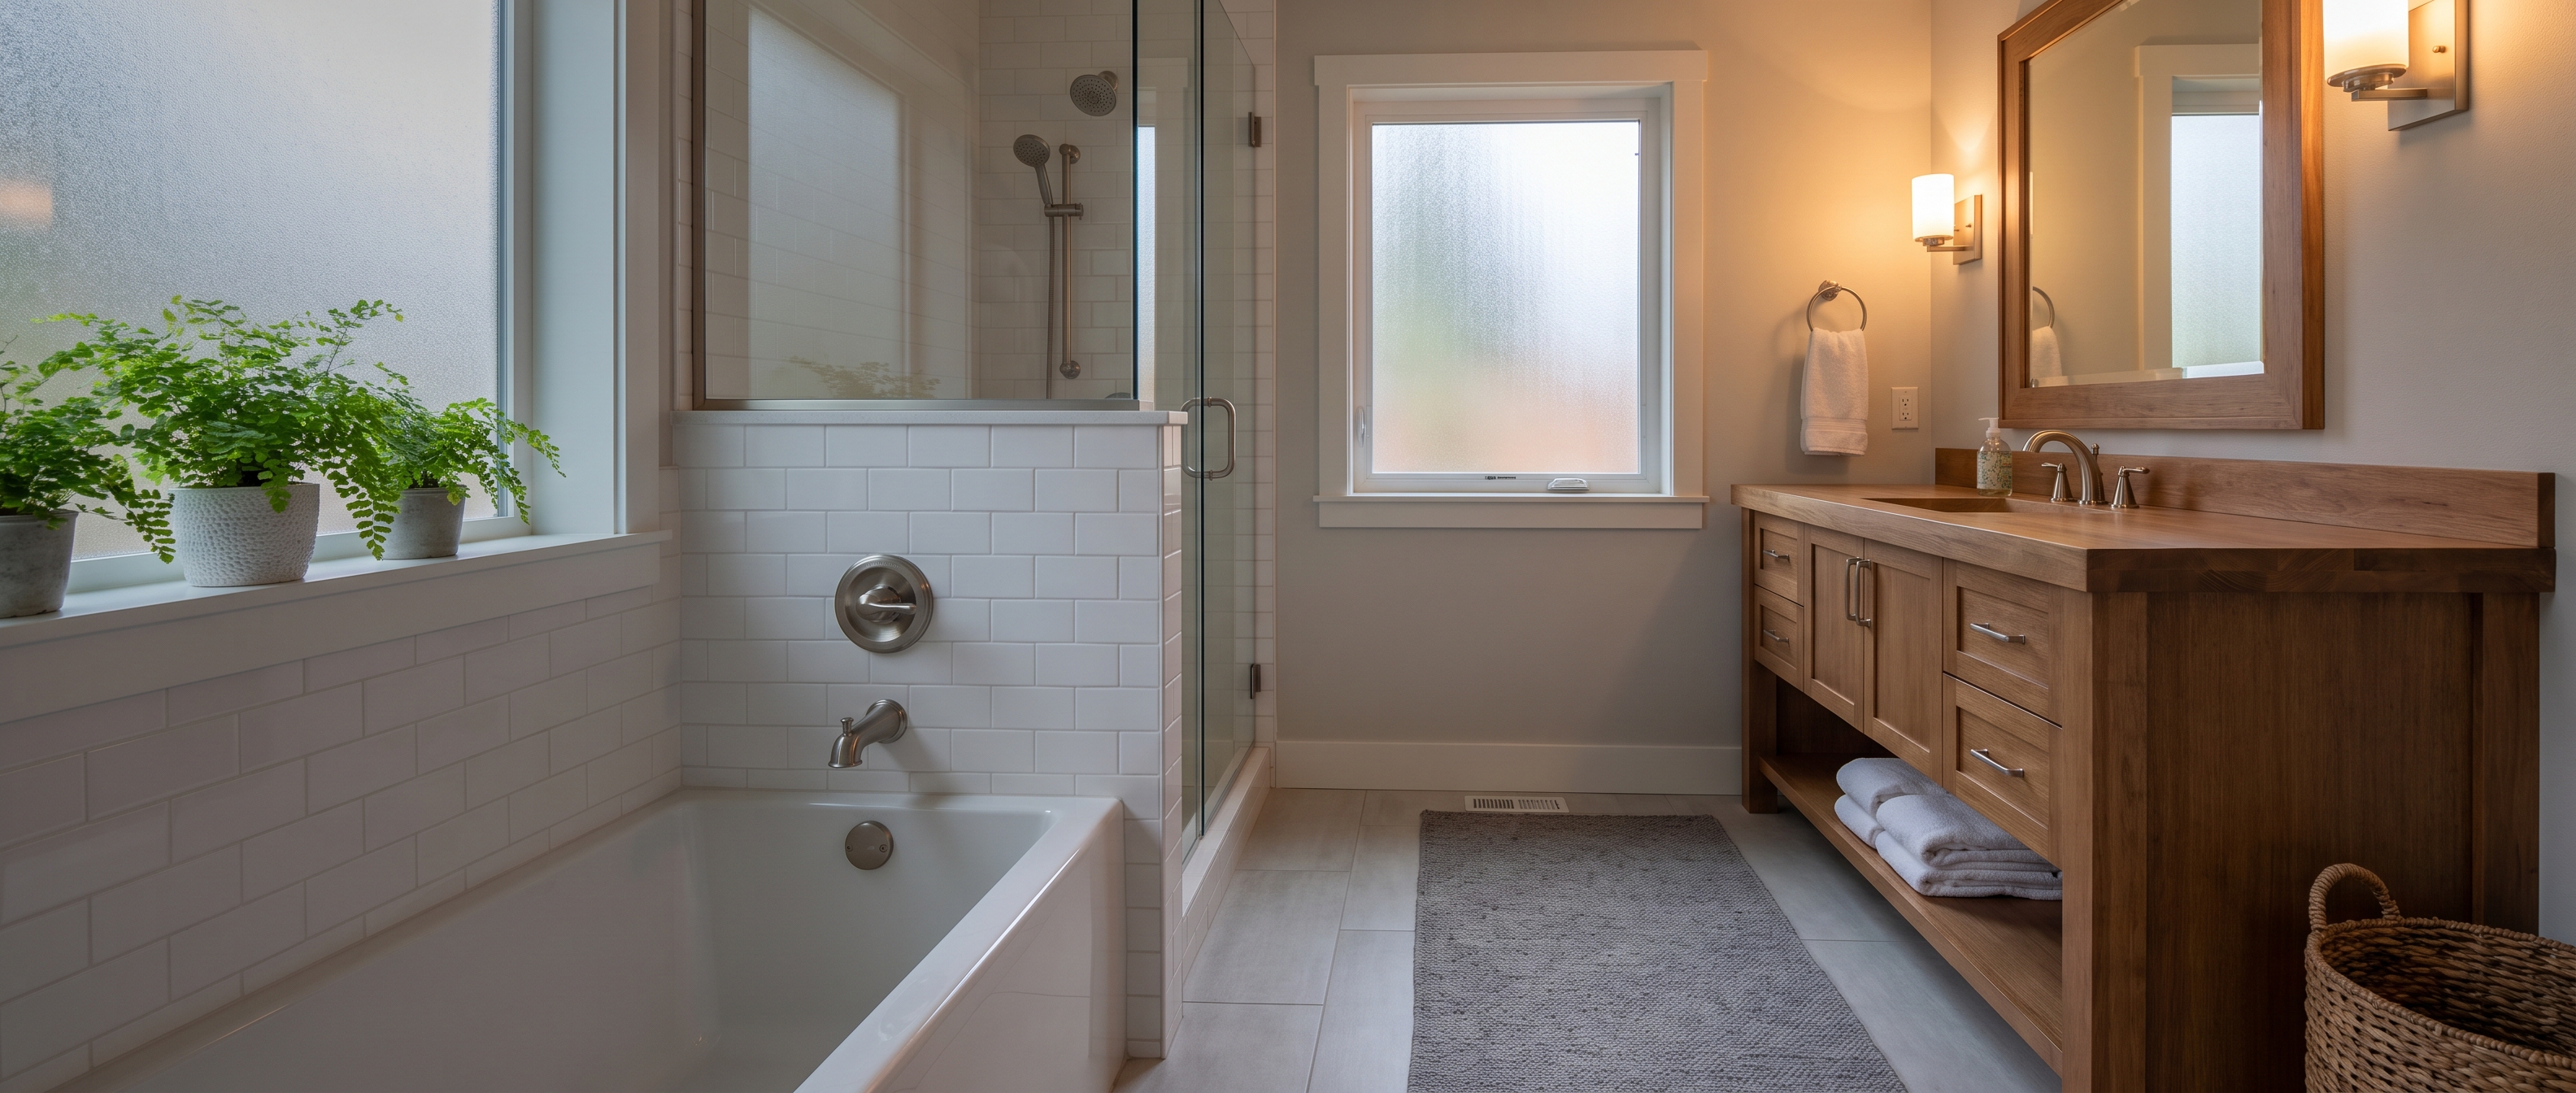
A lot of the homes I work in around Firgrove, the Meridian corridor, and older South Hill were built from the 1940s through the 1970s. Many of those bathrooms have one porcelain ceiling fixture and no switched vanity circuit at all. There’s nothing in the wall to connect a new sconce to.
So “lighting upgrade” in those homes is really a mini-rewire. New switch legs. Sometimes a new circuit. That’s a different scope than a fixture swap, and I set that expectation on day one so nobody’s surprised.
Here’s what adds cost in older housing stock:
- No existing wiring at the mirror. Adding a circuit run means fishing wire through the attic or crawlspace, roughly $200 to $400 per run.
- No neutral wire. Pre-1980 wiring often lacks a neutral conductor, which standard smart dimmers need. I default to a no-neutral model like the Lutron Caseta version so it works the first time.
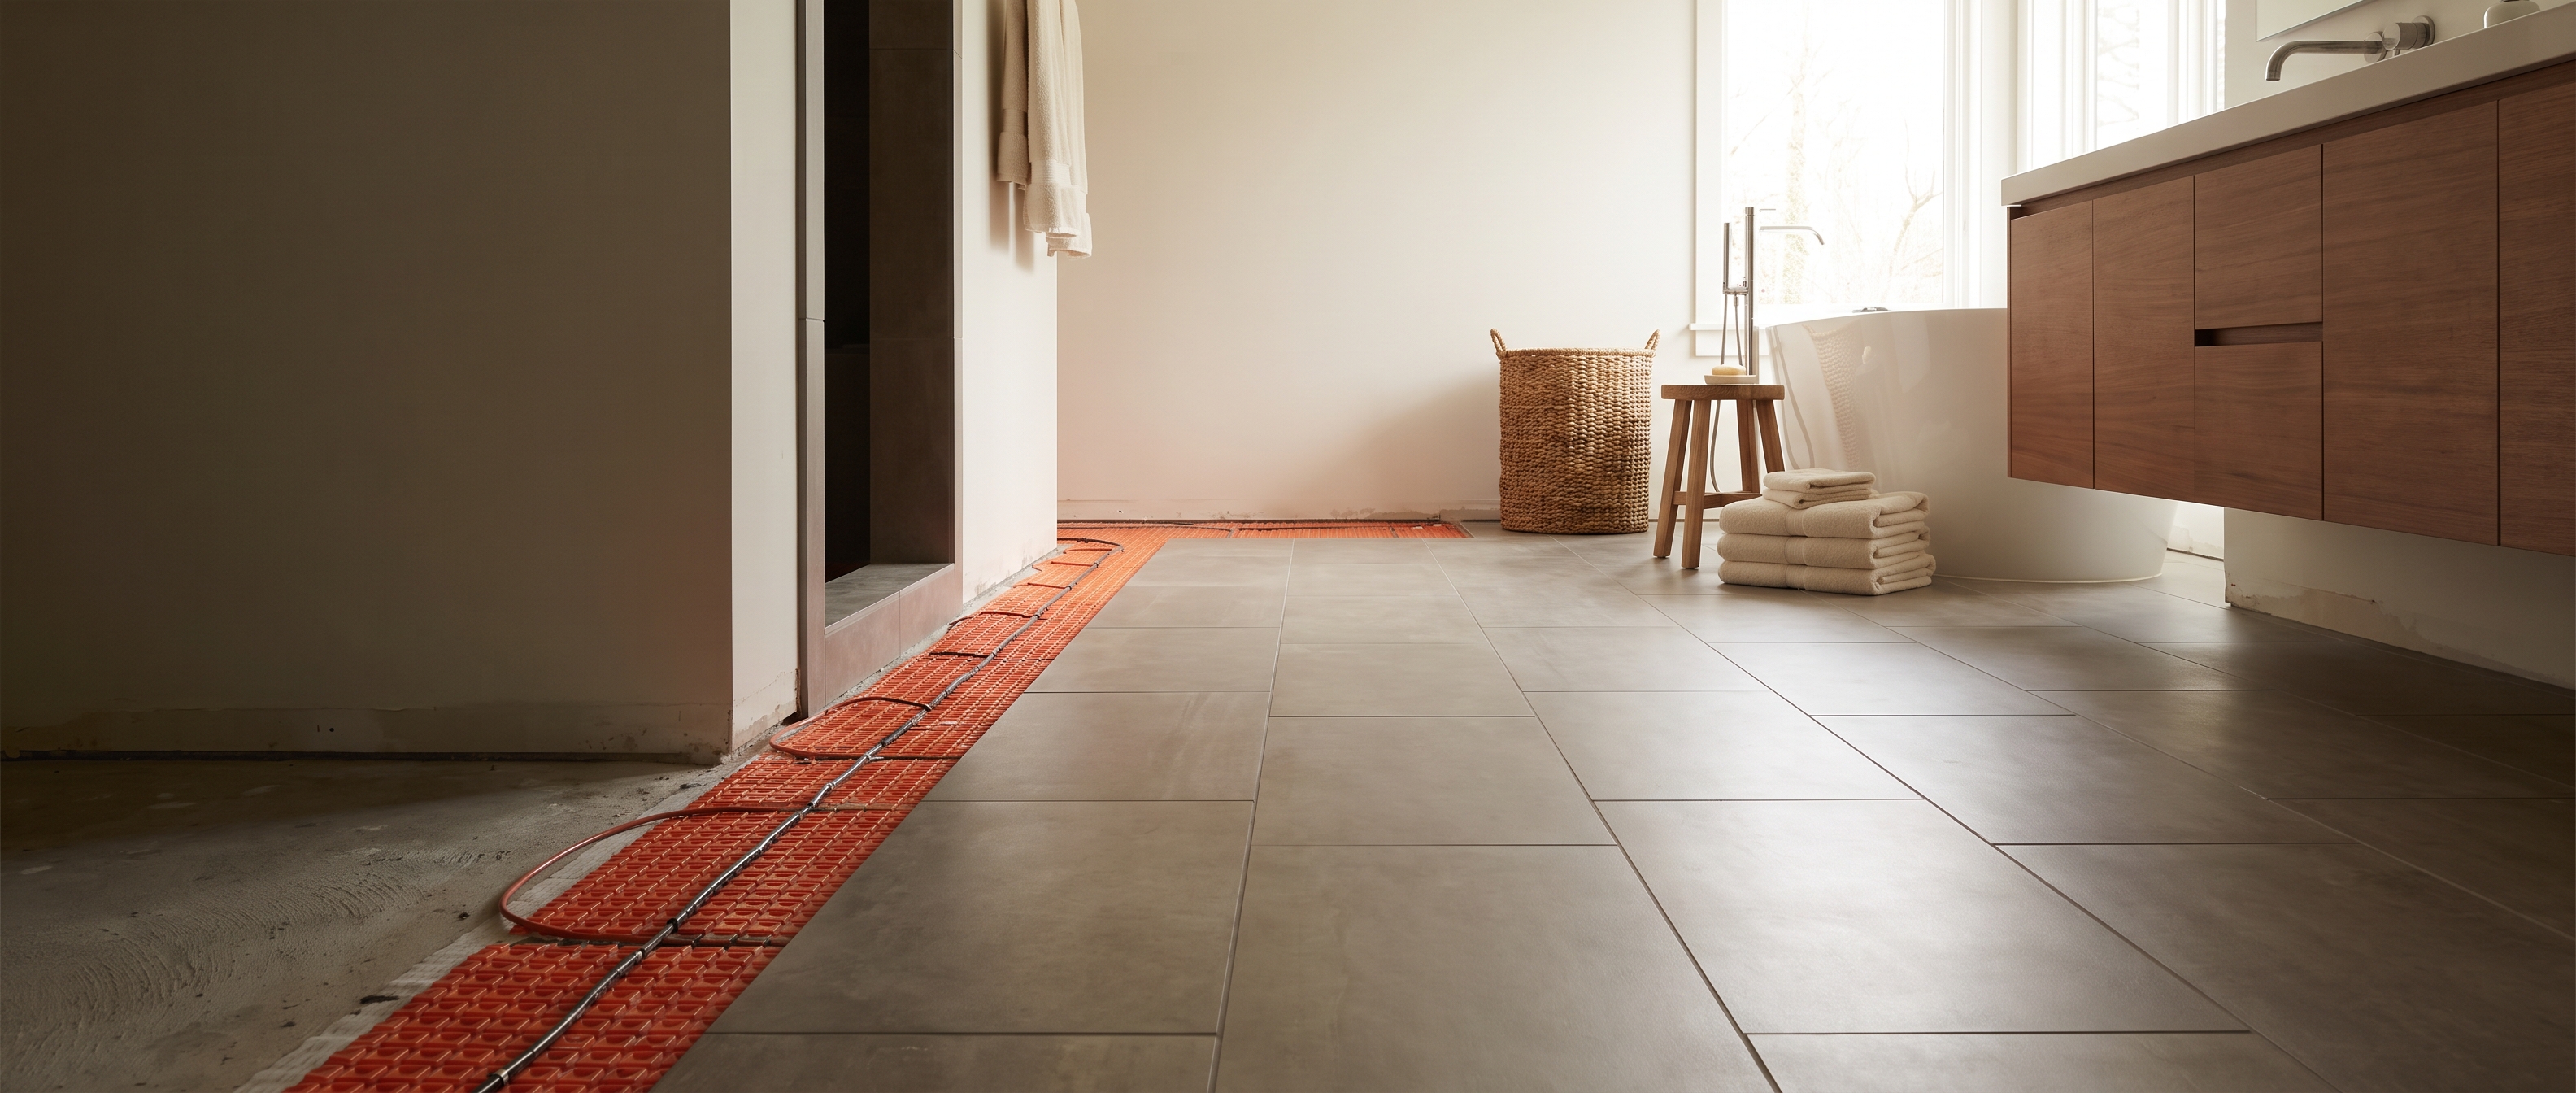
- Panel capacity. A 1950s home on 100-amp service may not have room for heated floors, a bigger fan, and new lighting circuits. I have an electrician confirm available capacity before anyone picks finishes.
If your project triggers panel or subpanel work, budget another $1,500 to $3,500 on top. Access is everything here. A single-story home with attic access above the bath is cheap to rewire. A second-floor bath with living space below and no attic is where my estimates climb the most.
Crawlspace homes actually catch a break. Running new wiring from below is often easier and cheaper than you’d guess, the same way it makes plumbing relocation simpler in these older homes.
For the bigger picture on how electrical ties into a full project, my breakdown of the overall bathroom remodel cost in Puyallup puts lighting in context with everything else.
Shower Lighting and the Code Rule People Miss
Yes, you can put a light inside your shower. But it has to be a wet-location-listed fixture, and it has to be on a GFCI-protected circuit. That’s NEC code, and Pierce County and City of Puyallup inspectors check for it specifically on permitted work.
There’s a difference that trips people up. Damp-rated fixtures are fine near water, outside the direct spray. Wet-rated fixtures are required inside the shower envelope itself. I’ve seen homeowners buy a pretty damp-rated can, install it over the showerhead, and fail inspection.
- Damp-rated: ceiling of the main room, over the tub outside the spray zone.
- Wet-rated: anywhere inside the shower stall where water hits directly.
A wet-rated shower can runs $180 to $350 installed, a bit more than a standard can because of the IC-rated and wet-rated trim. It’s worth doing right. A curbless walk-in especially needs good light, and I cover that whole design in my walk-in shower ideas and costs guide.
A South Hill Project: One Ceiling Bulb to Three Layers
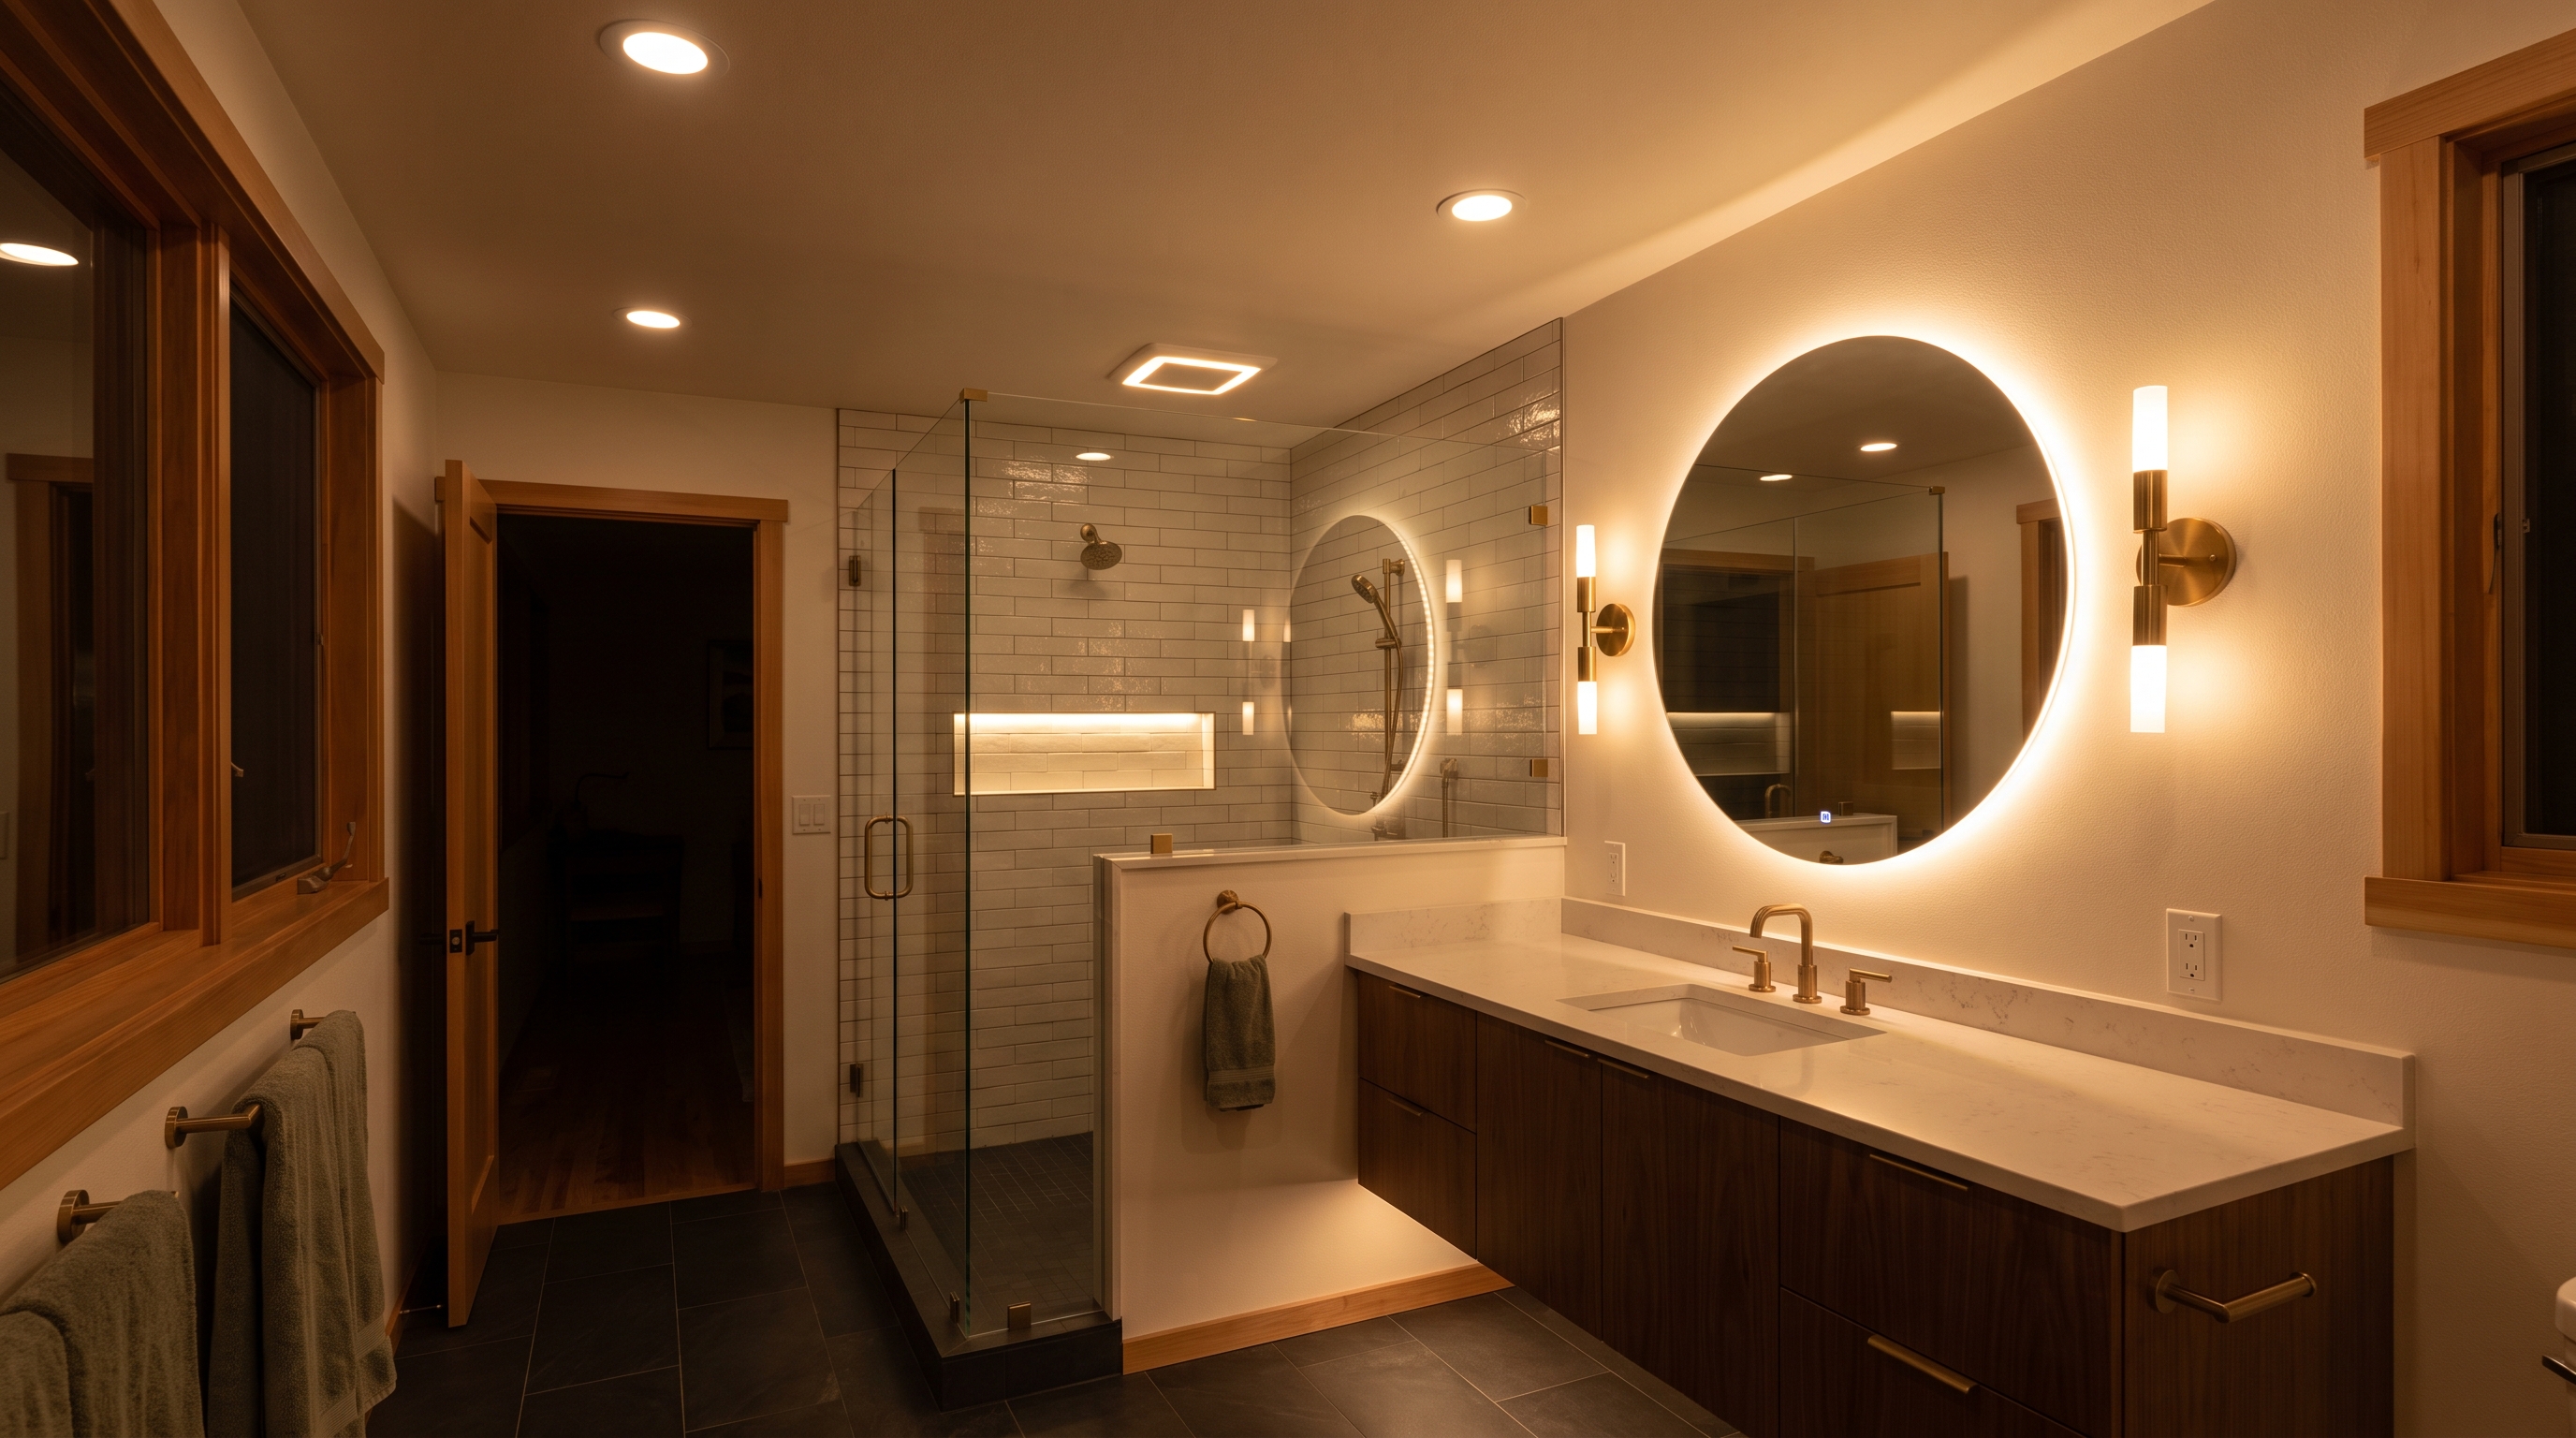
Let me give you a real one. A couple in South Hill had a 7x9 primary bath in a 1962 rambler. One ceiling fixture. No vanity lighting at all. They told me the room felt like a cave on dark winter mornings, which in our December daylight is a fair complaint.
Here’s what I did:
- Added four recessed LED cans for even ambient light.
- Mounted a pair of sconces flanking a new 36-inch backlit anti-fog mirror, at 64 inches to center.
- Ran a wet-rated can over the walk-in shower on the GFCI circuit.
- Put the whole thing on two smart dimmers, no-neutral models because the 1962 wiring had no neutral.
- Swapped the loud old fan for a quiet Panasonic fan-light combo.
The wiring was the real work. I fished new runs through the attic, added a switch leg at the vanity wall, and confirmed the panel had room before we started.
Total lighting and electrical scope came to $3,850. Timeline was 4 working days, folded into their larger remodel. The wife told me the mirror alone changed her whole morning routine. That’s the layered approach doing exactly what it’s supposed to.
2026 Bathroom Lighting Trends I’m Actually Installing
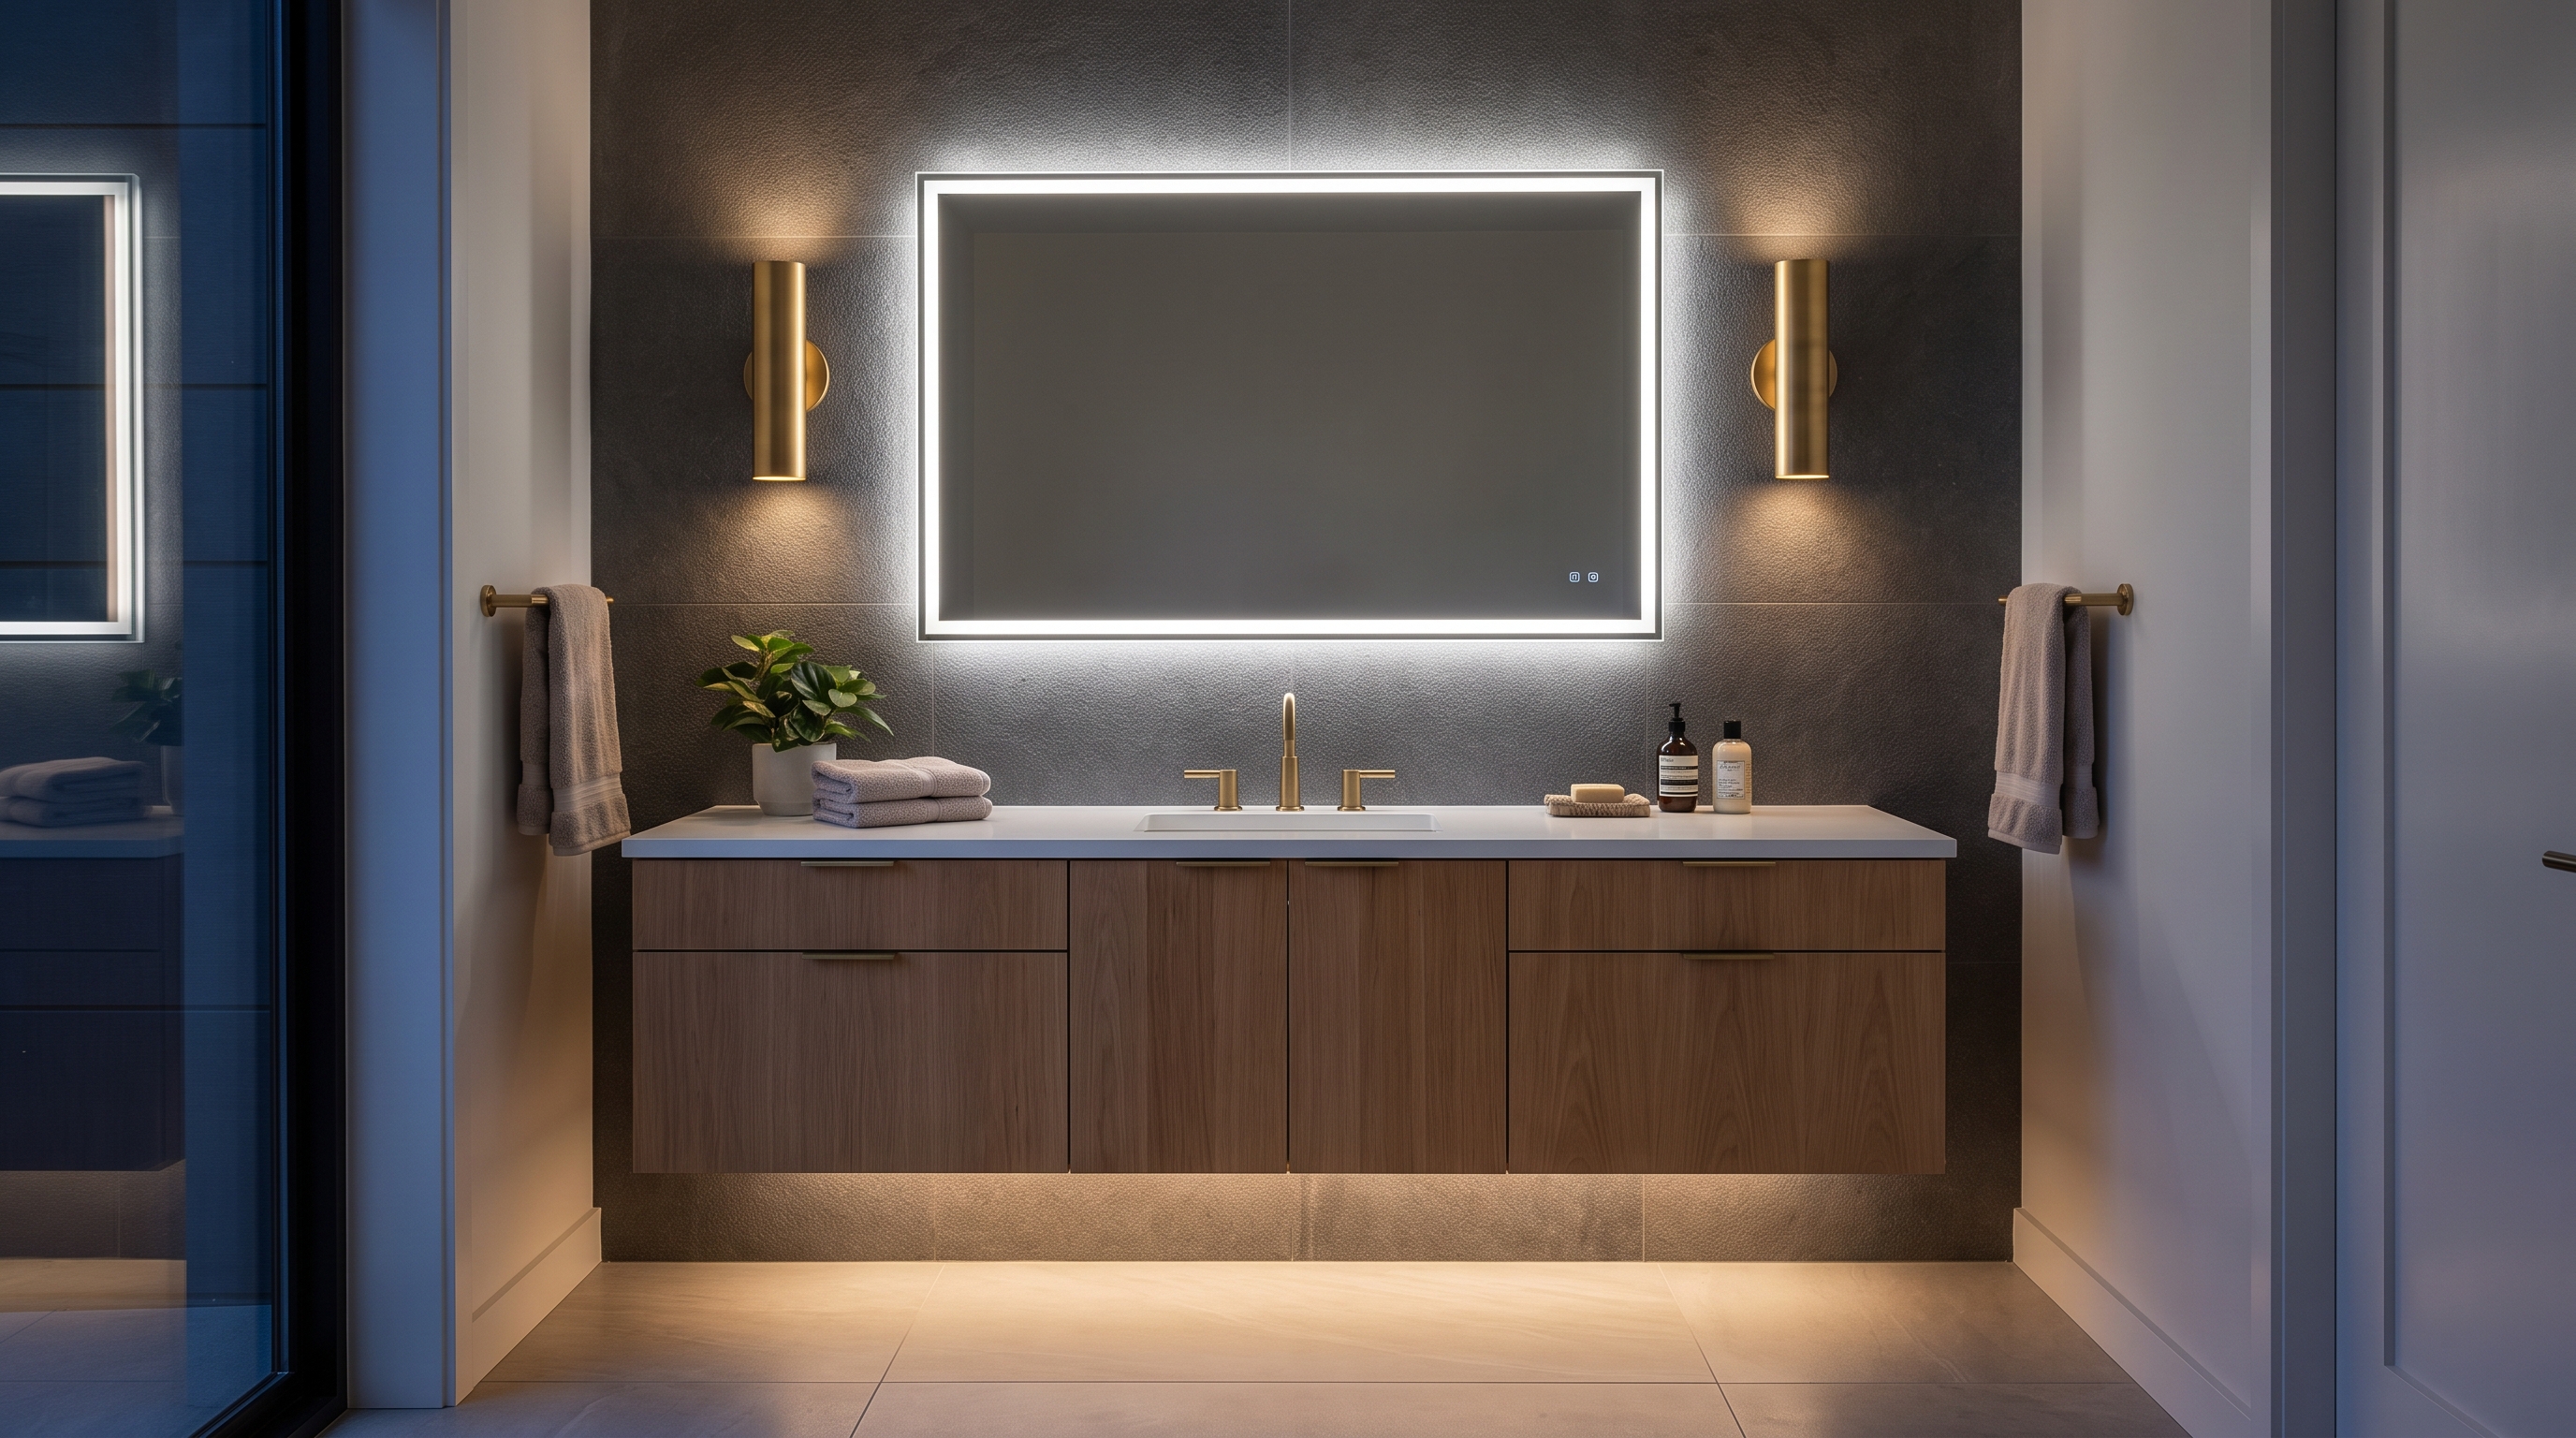
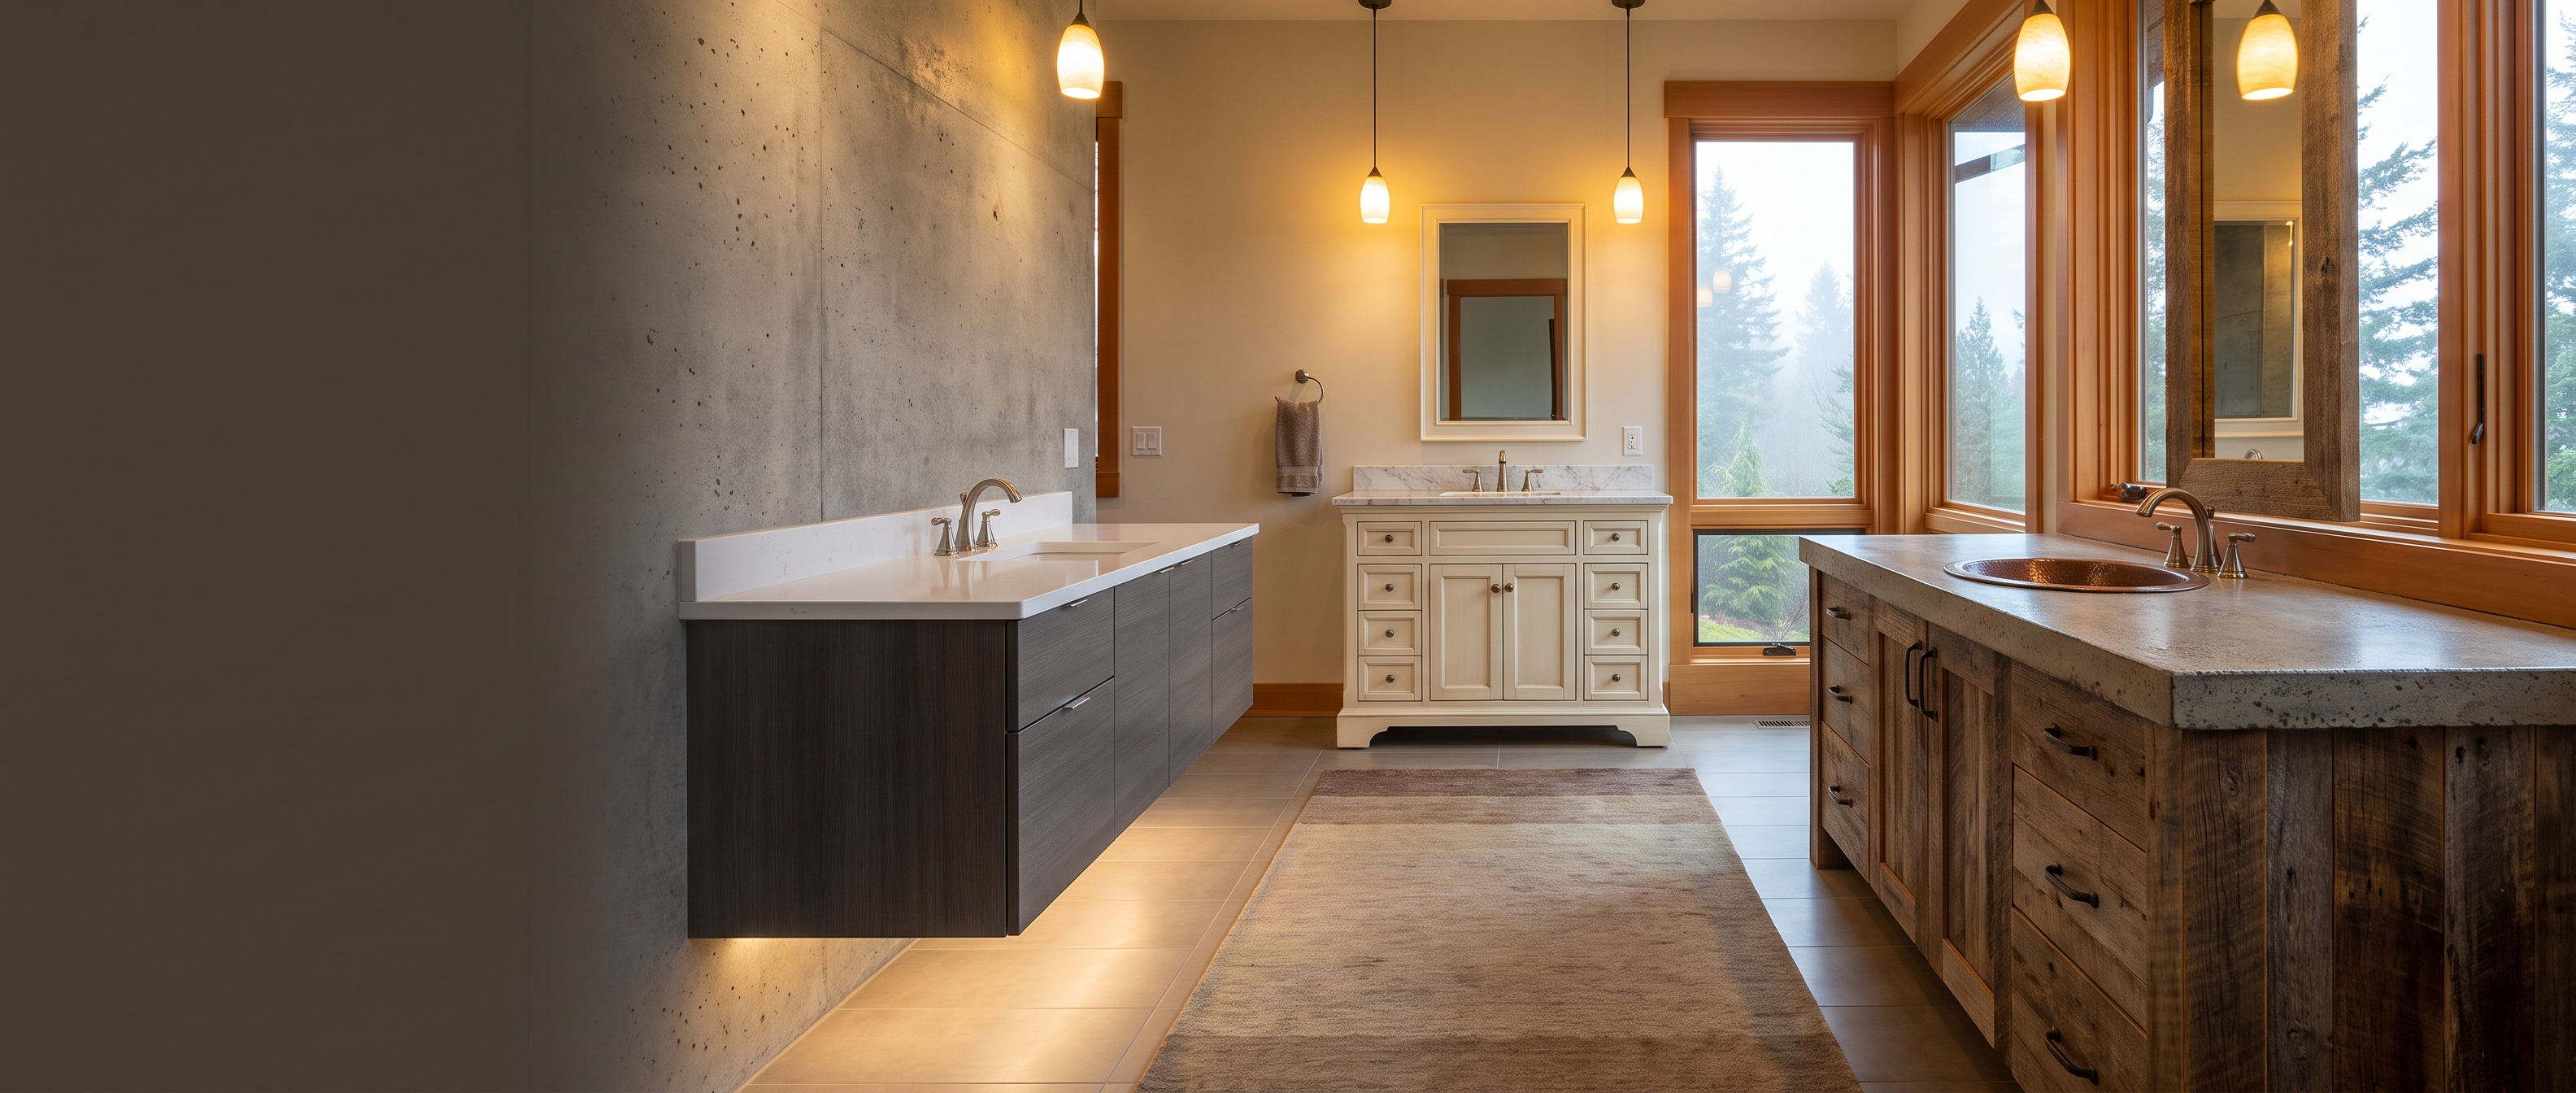
Trends come and go. These are the ones holding up because they’re practical, not just pretty.
- Backlit LED mirrors. Anti-fog, built-in task light, clean look. Kohler’s Verdera line and Electric Mirror, a Mukilteo, WA company, are the two I install most. Nice to source something close to home.
- Layered dimming. Separate dimmers for each layer so one room does bright-for-cleaning and low-for-soaking.
- Accent LED strips. Toe-kick lighting under the vanity doubles as a nightlight. Small cost, big “wow” when people see it.
- Warm, high-CRI light everywhere. The clinical white look is fading. Warm and accurate is winning.
For how lighting fits with tile, fixtures, and the rest of the current look, my roundup of bathroom remodel trends for 2026 ties it all together, and the best bathroom upgrades for resale value covers which of these actually earns money back.
Lighting for Aging in Place
If you’re planning to stay in the home, brighter, higher-CRI, well-placed light isn’t just comfort. It’s safety. Good shadow-free light at the vanity and a lit path to the toilet cut fall risk. I build that into every aging-in-place bathroom remodel I design.
Why Lighting Matters More in the Pacific Northwest
Our winters are dark. The sun sets before 4:30 in December and January. That makes bathroom lighting a bigger daily-life factor here than in sunnier places, because you’re using artificial light for most of your morning and evening routine half the year.
Humidity is the other PNW factor. Persistent bathroom moisture corrodes cheap fixture hardware fast, especially bargain brushed nickel and chrome with poor base metal underneath. Fixture finish quality matters more here than in a dry climate. I’d rather install one good fixture than replace a cheap one in three years.
And ventilation ties directly in. Washington’s energy code requires bath fans ducted to the exterior, not into the attic where they rot the framing. I pair almost every lighting upgrade with a proper fan, because moving the moisture out protects the fixtures and the house.
Do You Need a Permit for Bathroom Lighting?
If I’m adding circuits, running new switch legs, or doing anything beyond a straight fixture swap, yes, that’s permitted electrical work in Pierce County or the City of Puyallup depending on your address. A like-for-like fixture replacement on existing wiring usually isn’t.
I pull the permits and schedule the inspections so you’re not taking time off to meet an inspector. If you want the full rundown on what does and doesn’t need a permit, I wrote a guide to remodeling permits in Puyallup.
Questions to Ask Before You Hire Anyone for Bathroom Lighting
- Is my vanity light side-mounted at eye level, not just above the mirror?
- What color temperature and CRI are the fixtures or bulbs?
- Does the quote include wet-rated fixtures for inside the shower?
- Is there a neutral wire, or do I need no-neutral dimmers?
- Can my panel handle the added load?
- Is permitting and inspection included in the price?
- Is every layer on the same color temperature?
Get those answered in writing before work starts. A line-item proposal is what stops the argument in week two. I quote fixed price, so the number I give you is the number you pay unless you change the scope.
Frequently Asked Questions
How much does bathroom lighting cost to install in Puyallup? A full layered lighting overhaul runs $1,800 to $4,500 for a standard 5x8 to 8x10 bath with existing wiring. Individual pieces vary: a pair of vanity sconces is $300 to $800 installed, a backlit mirror is $450 to $1,200, and recessed cans run $150 to $300 each. If your older home needs new wiring or a panel upgrade, add $1,500 to $3,500.
Why does my new vanity light make me look washed out or orange? It’s almost always the bulb, not the fixture. You’ve got the wrong color temperature or a low CRI. Swap to a 2700K to 3000K bulb with 90+ CRI and the problem usually disappears for a few dollars. You rarely need to replace the whole fixture.
Can I add vanity lighting if my bathroom only has one ceiling light? Usually yes, if there’s attic or crawlspace access to fish new wire to the vanity wall. That runs about $200 to $400 per circuit run. It gets harder and pricier in a second-floor bath with living space below and no attic access, which is where my estimates climb the most.
What’s the best color temperature for a bathroom? 2700K to 3000K, warm white, for the vanity where you need accurate skin tones. Keep every layer in the room at the same temperature so nothing clashes. Skip 3500K and above at the mirror unless you want a cold, clinical look.
Do I really need a dimmer in a bathroom? Code doesn’t require it, but I install them on most jobs now. A dimmer lets one room go bright for cleaning and low for a soak. In older homes, check for a neutral wire first, or use a no-neutral smart dimmer so it works right away.
Also Serving Pierce County
I’ve handled bathroom lighting and full remodels for homeowners in Tacoma, Sumner, Bonney Lake, South Hill, and Edgewood. If you’re nearby in Pierce County, odds are I’ve worked on a home like yours.
Get Your Bathroom Lighting Done Right
Want to know what your bathroom actually needs instead of guessing from a catalog? I’ll walk your bathroom, tell you what I see behind the wall, and give you an itemized fixed-price proposal at no charge. I handle the permits and inspections too.
Call me at (253) 392-9266 or contact me here. You can also read more about my full bathroom remodeling service in Puyallup to see how lighting fits into a complete project.
Brad Zemke, Owner Pacific Remodeling LLC Puyallup, WA