A straight bathroom exhaust fan replacement runs $150 to $350 installed when the wiring and ducting already match the new unit. Swap in a bigger fan, a fan/light/heater combo, or a new duct run, and you’re looking at $450 to $1,500. That’s the honest range I quote in Puyallup and across Pierce County.
I’ve been in the trades 20+ years, and I’m a third-generation carpenter running Pacific Remodeling here in the Pacific Northwest since 2018. I’ve pulled more dead, mold-caked bathroom fans out of PNW ceilings than I can count. This bathroom exhaust fan replacement guide covers what it costs, how to size it, and the stuff nobody warns you about until the drywall comes down.
Bathroom Exhaust Fan Replacement Cost in Puyallup (2026)
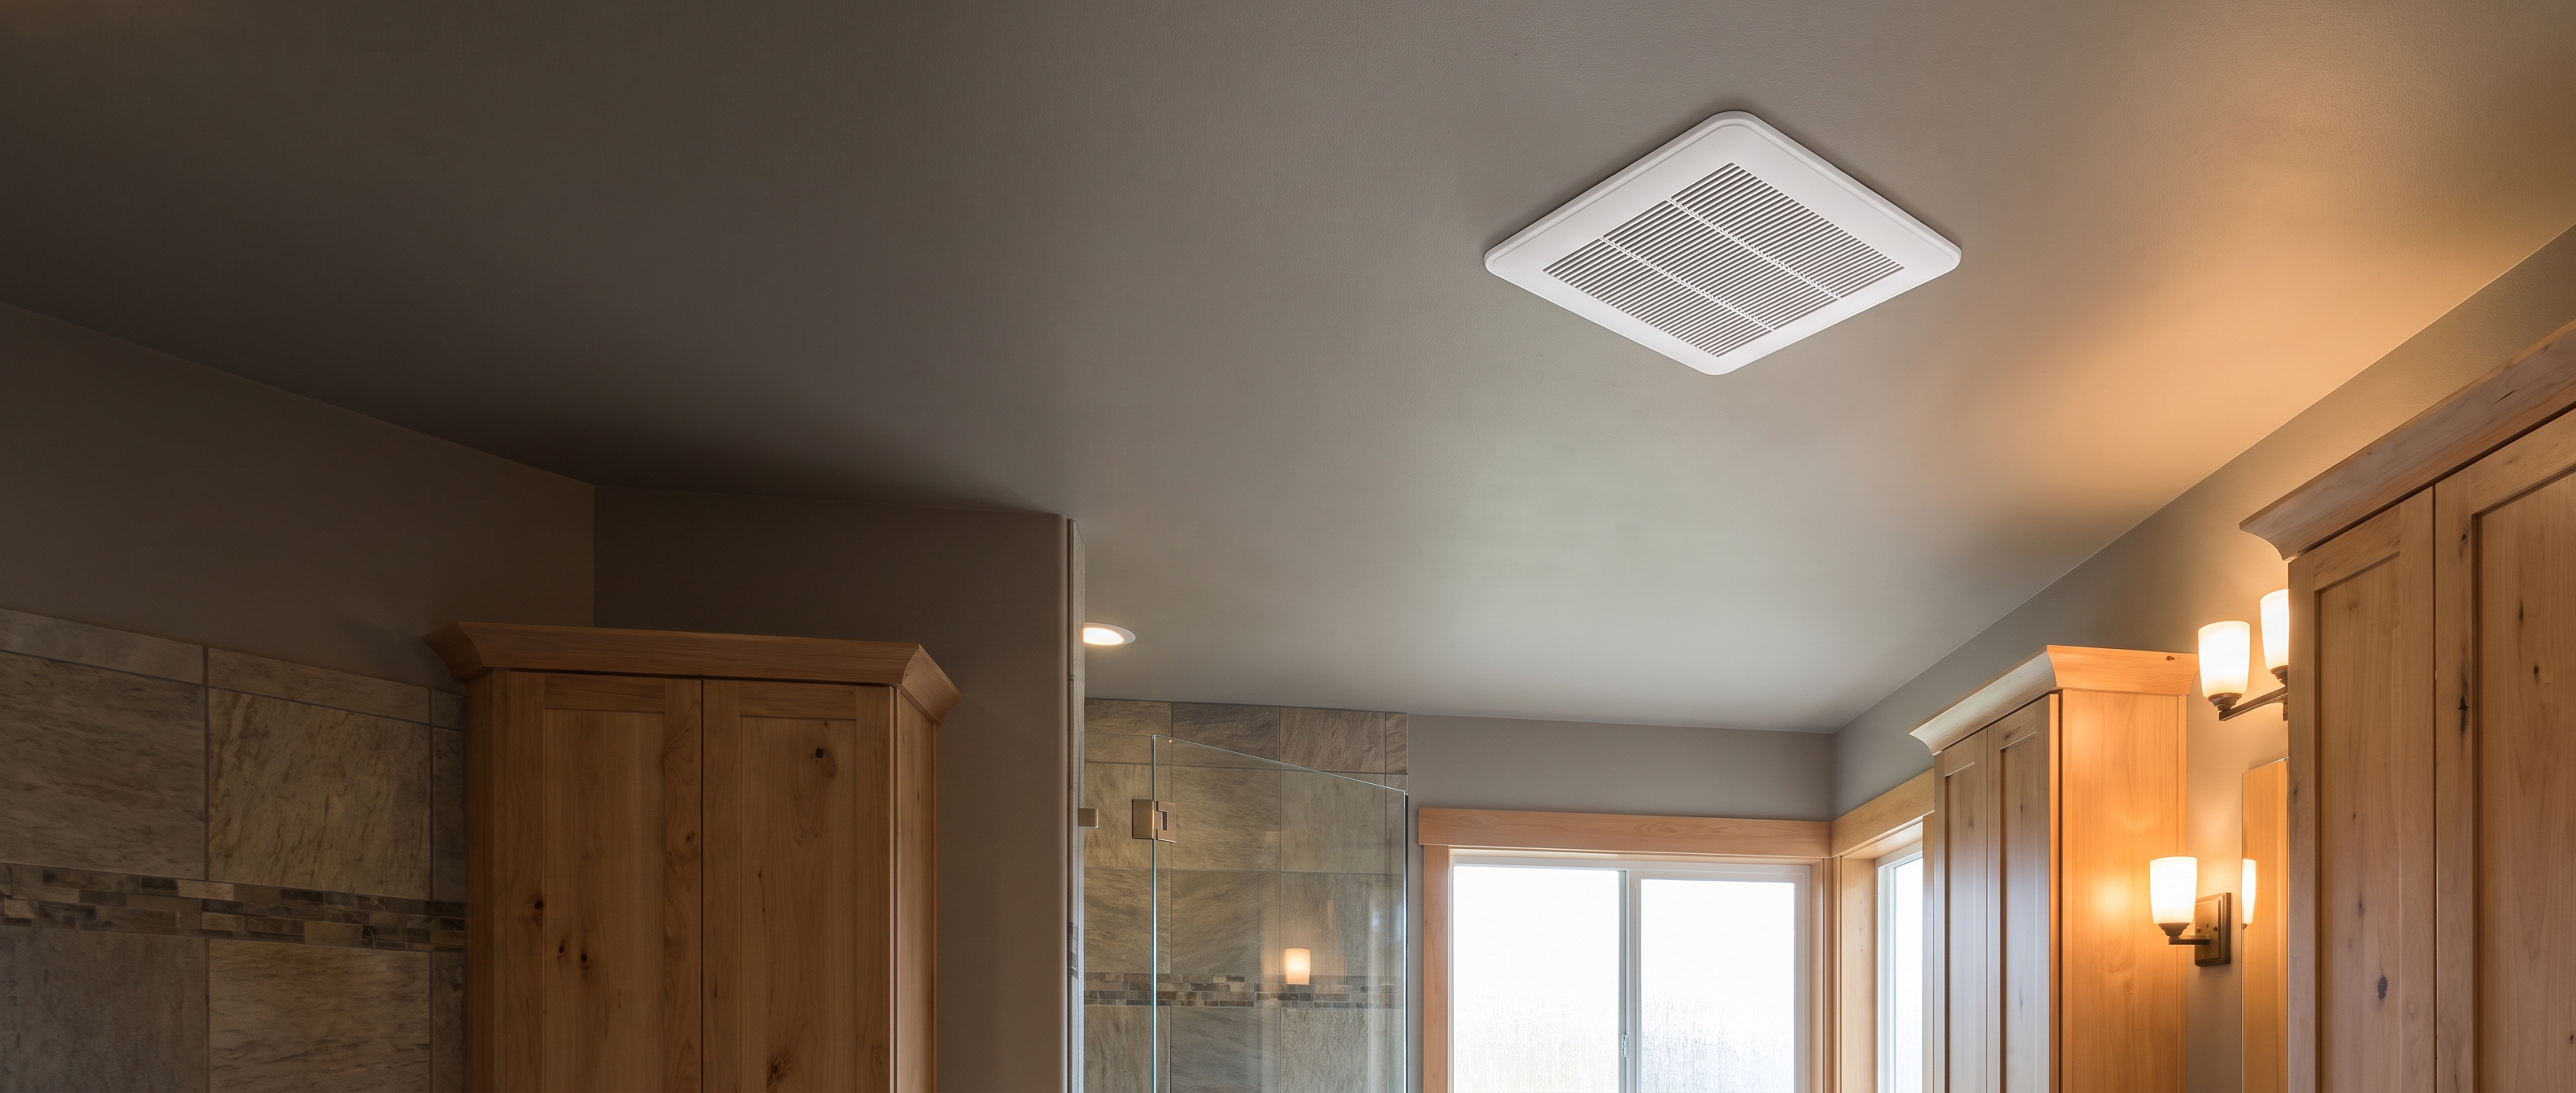
Here’s where the money goes, based on jobs I price in this area. Not a national calculator average. Real Pierce County numbers.
| Job Type | Typical Cost (Installed) |
|---|---|
| Like-for-like swap (same size, same spot, wiring and duct match) | $150 - $350 |
| Contractor-grade replacement (new housing and motor, minor duct reconnect) | $250 - $550 |
| Upgrade needing larger duct or new vent cap | $450 - $900 |
| Fan/light/heater combo (often needs a dedicated 20-amp circuit) | $600 - $1,200 |
| Humidity-sensing or smart fan (unit $350-$700, plus install) | $600 - $1,100 |
| Brand-new fan where none existed (new penetration, duct, cap, circuit) | $700 - $1,500 |
Cost callout: The fan itself is rarely the expensive part. A good Panasonic runs $150 to $280. The labor swings on three things: duct size, whether you need a new circuit, and how tight your attic is.
The like-for-like swap is the quick one. I can often knock that out in under two hours. The price climbs the moment your old setup doesn’t match what the new fan needs.
What a Bathroom Exhaust Fan Replacement Actually Involves
A lot of homeowners think this is a plug-and-play job. Sometimes it is. Usually there’s more going on above that ceiling than you’d guess.
Here’s the full scope on a typical replacement:
- Kill the power and confirm it’s dead. Air Force habit. I don’t trust a switch, I test the wires.
- Pull the old housing. This is where I find the surprises. Crushed duct, disconnected duct, or a fan that vents straight into the attic.
- Check the duct size and run. An old 3-inch oval duct chokes a modern 110 CFM fan rated for 4-inch round.
- Mount and seal the new housing. The seal matters as much as the fan. Warm, moist air leaks around a sloppy housing and rots your attic sheathing.
- Wire it. A plain fan is simple. A combo with a heater element often needs its own circuit.
- Confirm it vents outside. To a roof cap or soffit cap with a backdraft damper. Never into the attic.
That third and sixth step are where most DIY swaps and cheap handyman jobs fall apart. The fan runs. It just doesn’t do anything.
The number-one hidden problem in older PNW homes
I’ll say this plainly. In homes built before the 1980s around unincorporated Pierce County, I regularly find the fan duct dumping straight into the attic. No run to the outside at all.
That’s the single most common thing I discover during a fan replacement in older South Hill and Puyallup homes. And in our climate, it’s a slow disaster. The warm, wet shower air hits cold attic framing, condenses, and feeds mold and sheathing rot for years before anyone notices.
If that’s your house, the fan was never the problem. The missing duct run was.
How to Size a Bathroom Exhaust Fan (CFM Explained)

Size is where people get it wrong. Here’s the simple version.
The rule of thumb: 1 CFM per square foot of floor space, with a 50 CFM minimum by code.
So a 7-foot by 8-foot bathroom is 56 square feet. You want at least 60 CFM, and rounding up to 80 CFM is smart. Easy.
But the rule breaks down fast in a few cases:
- Big soaker tub or steam shower? Size up 20 to 30 percent. More water in the air needs more airflow out.
- Ceiling over 8 feet? The cubic volume goes up, so your CFM needs to go up with it.
- Separate toilet room? It gets its own fan or its own calculation.
Washington’s energy code wants at least 50 CFM for intermittent use, or 20 CFM running continuously. A lot of the newer builds I touch spec a continuous low-speed fan with a boost mode. For our wet season, that’s a smart setup.
Field tip: Don’t just buy by CFM. A 110 CFM builder-grade fan can be three to four times louder than a 110 CFM Panasonic WhisperGreen moving the same air. Check the sone rating too. Aim under 1.5 sones for a primary bath, and you’ll actually want to run it.
CFM is only half the job
Here’s the part the box doesn’t tell you. A fan is only as good as the duct behind it.
You can buy the best 110 CFM fan on the shelf, but if it’s pushing through a crushed, undersized, or sagging duct, you’ll get a fraction of that rated airflow. The duct is the bottleneck. Not the motor.
That’s why “my fan runs but the room’s still damp” is a call I get constantly. The fan’s fine. The duct is strangling it, or it’s not connected to the outside at all.
Choosing the Right Fan: Brands and Features That Matter
I’m not sponsored by anybody. These are the units I actually install in Pierce County homes and why.
Panasonic WhisperCeiling / WhisperGreen Select. My go-to quiet upgrade. They run 0.3 to 1.5 sones against the 4-plus sones on an old builder fan. The WhisperGreen Select ($150-$280) has a continuous low-speed trickle mode plus a boost, which is exactly what our long wet season calls for.
Broan/NuTone QTX and AE series. Solid mid-grade swap you can grab at the Puyallup Lowe’s or Home Depot. The QTX ($100-$200) is the usual “upgrade from a screaming 1980s Broan” pick.
Delta BreezSignature / BreezSlim. When attic clearance is tight over the bath, these slim housings fit as shallow as 4.5 inches. Handy in older homes with 2x6 ceiling joists.
Humidity-sensing models (Delta BreezSignature SIG80H, Broan humidity-sensing units). These kick on automatically when humidity climbs. I push these hard for rentals and for anybody who forgets to flip the switch.
Here’s a quick way to decide what you need:
- Just want it to work and be quiet? Panasonic WhisperCeiling, sized to your room.
- Cold, dark mornings bug you? A fan/light/heater combo. Budget for the extra electrical.
- Mold keeps coming back? Humidity-sensing fan plus a timer. Take the human habit out of it.
- Want it running low 24/7 in wet season? WhisperGreen Select with continuous mode.
For the bigger picture on fixtures and finishes, my bathroom lighting ideas and costs guide pairs well with a combo-unit decision, since you’re often touching the same circuit.
The PNW Mistakes That Kill a Fan Upgrade
Four decades of rain does things to a house. These are the errors I see most, and they’re all avoidable.
Buying by CFM alone and ignoring sones. You get a technically correct fan that’s so loud you never run it. Check both numbers.
Reusing undersized duct. That old 3-inch oval duct throttles a modern 4-inch fan down to nothing. Match the duct to the fan before you buy. Upsize it if you have to.
Skipping the housing seal. Warm, wet air leaks around an uncaulked housing straight into the attic. A gasket and a bead of caulk at the ceiling penetration takes ten minutes and saves your sheathing.
Flex duct with a sagging belly. A bellied flex run traps condensation that drips back into the fan housing. In our climate I want rigid or insulated duct, sloped toward the exterior, with a damper on the cap.
Fixing the fan but not the switch. A new fan on the same old on/off switch means the same old habit. Forget to run it, or run it two minutes, and the moisture problem’s still there. Pair the fan with a timer or humidity sensor if moisture is the real goal.
Those last two matter double here. Our attics stay cold and damp much of the year, so an uninsulated duct sweats on the inside and drips. That’s not a defect. That’s physics in the Pacific Northwest.
I cover more of these in how to avoid common remodeling mistakes, because the pattern is always the same: the cheap shortcut costs more later.
A Real Bonney Lake Fan Job
Let me give you a real one.
A homeowner in Bonney Lake called me last winter. Their “new” fan from a handyman had been in for eight months, and the bathroom ceiling was spotting with mold again. They were frustrated. They’d already paid to fix this.
I pulled the fan. The handyman had installed a nice 110 CFM unit, decent brand. But he’d connected it to the original 3-inch flex duct, which ran up, bellied down in a sag, and terminated in the attic. Not outside. In the attic.
So the fan moved maybe half its rated air, and what it did move just dumped into cold attic space and condensed. Textbook. Every mistake stacked in one install.
Here’s what I did:
- Ran new 4-inch insulated rigid duct, properly sloped
- Cut in a roof cap with a backdraft damper
- Sealed the housing-to-drywall gap
- Added a humidity-sensing switch so it runs on its own
Total came to $780, done in a single day. The ceiling’s been dry ever since. The fan was never the problem. The $200 the first guy “saved” them cost them a repaint and a service call.
Warning: If a bid for a fan swap looks suspiciously cheap, ask where the duct terminates and whether they’re sealing the housing. Those two answers tell you if you’re getting a real fix or a mold machine.
Do You Need a Permit? And When It’s a Bigger Job
Good news for most folks: a straight fan-for-fan swap, same spot, no new wiring, no duct relocation, usually does not need a permit in unincorporated Pierce County or the City of Puyallup.
It changes the moment you add scope:
- New dedicated circuit (common with heater combos) usually triggers an electrical permit
- New ceiling or roof penetration usually triggers a building permit
- Moving the fan location means new duct and often new wiring
Homeowners often assume any bathroom electrical work needs a permit. Simple swaps don’t. Bigger upgrades do. If you want the full rundown, I wrote a guide to remodeling permits in Puyallup that spells out which jobs need one.
When fan replacement is really part of a bigger remodel
Half the time, the fan isn’t a standalone job. It comes up because you’re already redoing the bathroom. If that’s you, it’s the right moment to fix the ventilation properly while the ceiling’s open.
A fan replacement folds neatly into a full renovation. If you’re pricing the whole room, start with my bathroom remodel cost breakdown for Puyallup and the bathroom remodeling guide for Pierce County homeowners. For aging-in-place projects, good ventilation plus the right aging-in-place bathroom design choices keep a bathroom safe and dry for the long haul.
A Before-You-Buy Checklist
Run through this before you order a fan or call anyone. It’ll save you money.
- Measure your bathroom’s square footage (length x width)
- Set your target CFM (1 per sq ft, 50 minimum, size up for tubs/steam)
- Check the sone rating (aim under 1.5 for a primary bath)
- Climb up and look: where does the current duct actually go?
- Measure the existing duct diameter (3-inch vs 4-inch matters)
- Decide on features: plain, light, heater, humidity sensor
- Confirm there’s a working circuit, or budget for a new one
- Check attic joist clearance if you want a standard-depth housing
Questions to ask any contractor bidding the job
- Where does the duct terminate, and is it vented fully outside?
- Are you sealing the housing-to-drywall gap?
- Rigid or flex duct, and is it insulated?
- Does the vent cap have a backdraft damper?
- Does this scope need a permit?
If a contractor dodges those questions, keep calling. The right answers are how you tell a craftsman from someone collecting a check.
Frequently Asked Questions
How much does bathroom exhaust fan replacement cost?
A like-for-like swap runs $150 to $350 installed when your wiring and duct already match. A fan needing a bigger duct or new vent cap runs $450 to $900. A fan/light/heater combo runs $600 to $1,200. A full retrofit where no fan existed before runs $700 to $1,500 in Pierce County. The fan itself is usually $100 to $280; the labor swings on duct and electrical.
How do I know what size bathroom fan I need?
Use 1 CFM per square foot of floor space, with a 50 CFM minimum under Washington code. A 56-square-foot bathroom needs at least 60 CFM, and I’d round up to 80. Add 20 to 30 percent for a big soaker tub or steam shower, and more if your ceiling is over 8 feet.
Can I replace a bathroom fan myself?
A simple same-size swap with matching wiring and duct is doable for a handy homeowner in a couple hours. But if the duct is undersized, vents into the attic, or you want a heater combo that needs a new circuit, call a pro. Those are the jobs where a DIY “fix” quietly keeps feeding mold.
Why does my bathroom still get moldy with a working fan?
Almost always one of three things: the fan is undersized for the room, the duct dumps into the attic instead of outside, or the duct is crushed or disconnected. The fan can run fine and move almost no air. I find a duct venting into the attic on a huge share of older Puyallup and South Hill homes.
Does a bathroom fan need to vent outside?
Yes. Washington code and the IRC require bath fans to duct to the exterior, through a roof or soffit cap with a backdraft damper. Venting into the attic causes condensation, mold, and sheathing rot, which is a serious problem in our wet climate.
Also Serving These Pierce County Communities
I handle bathroom ventilation and full remodels across the South Sound. That includes Tacoma, Sumner, Bonney Lake, Edgewood, South Hill, and Lake Tapps. Same climate, same old-house surprises, same honest fix.
Let’s Get Your Fan Done Right
If your fan’s loud, dead, or losing the fight against the mold, I’ll take a look and tell you straight what’s going on above that ceiling. No upsell. If it’s a simple swap, I’ll say so. If the duct’s venting into your attic, you’ll want to know that too.
Call me at (253) 392-9266 or reach out through my contact page. I serve Puyallup and the surrounding Pierce County area, and I’d treat your home the way I’d want someone to treat my mom’s.
For the bigger picture, start with my bathroom remodeling services in Puyallup.
Brad Zemke, Owner Pacific Remodeling LLC Puyallup, WA