The single most expensive bathroom remodel mistake I see is skipping proper waterproofing, and it costs homeowners $4,000 to $9,000 to redo a failed shower pan, more if the rot spread into the subfloor. The second biggest mistake is choosing a contractor on price alone. Both are avoidable. Most of the costly bathroom remodel mistakes to avoid come down to decisions made before anyone swings a hammer.
I’m Brad Zemke. I’ve spent 20+ years in the trades as a third-generation carpenter, and I’ve run Pacific Remodeling here in Puyallup since 2018. I’ve also torn out plenty of other people’s failed work. This list comes from what I actually find behind the walls.
The Biggest Bathroom Remodel Mistake: Bad Waterproofing
Let me start here because it’s the one that does the most damage.
Nine times out of ten, when I rip out a shower that failed, the problem is waterproofing. Water got behind the tile. It soaked the substrate. It rotted the framing. By the time the homeowner saw a stain or felt a soft spot, the damage was thousands of dollars deep.
Here in the Pacific Northwest, moisture works against us about nine months a year. Pierce County gets 40-plus inches of rain. The humidity never really lets up. A shower that would survive in Arizona fails here.
A failed shower pan almost always means a full re-demo. You’re tearing out tile, membrane, and sometimes the subfloor. Budget $4,000 to $9,000 to redo it. If rot reached the joists or a downstairs ceiling, you’re looking at $10,000 to $18,000-plus.
Here’s what goes wrong:
- Plastic sheeting behind cement board instead of a real membrane system
- Grout used in corners where flexible caulk belongs
- No sloped pan under the tile, so water sits instead of draining
- Skipping the membrane entirely on a “quick” budget job
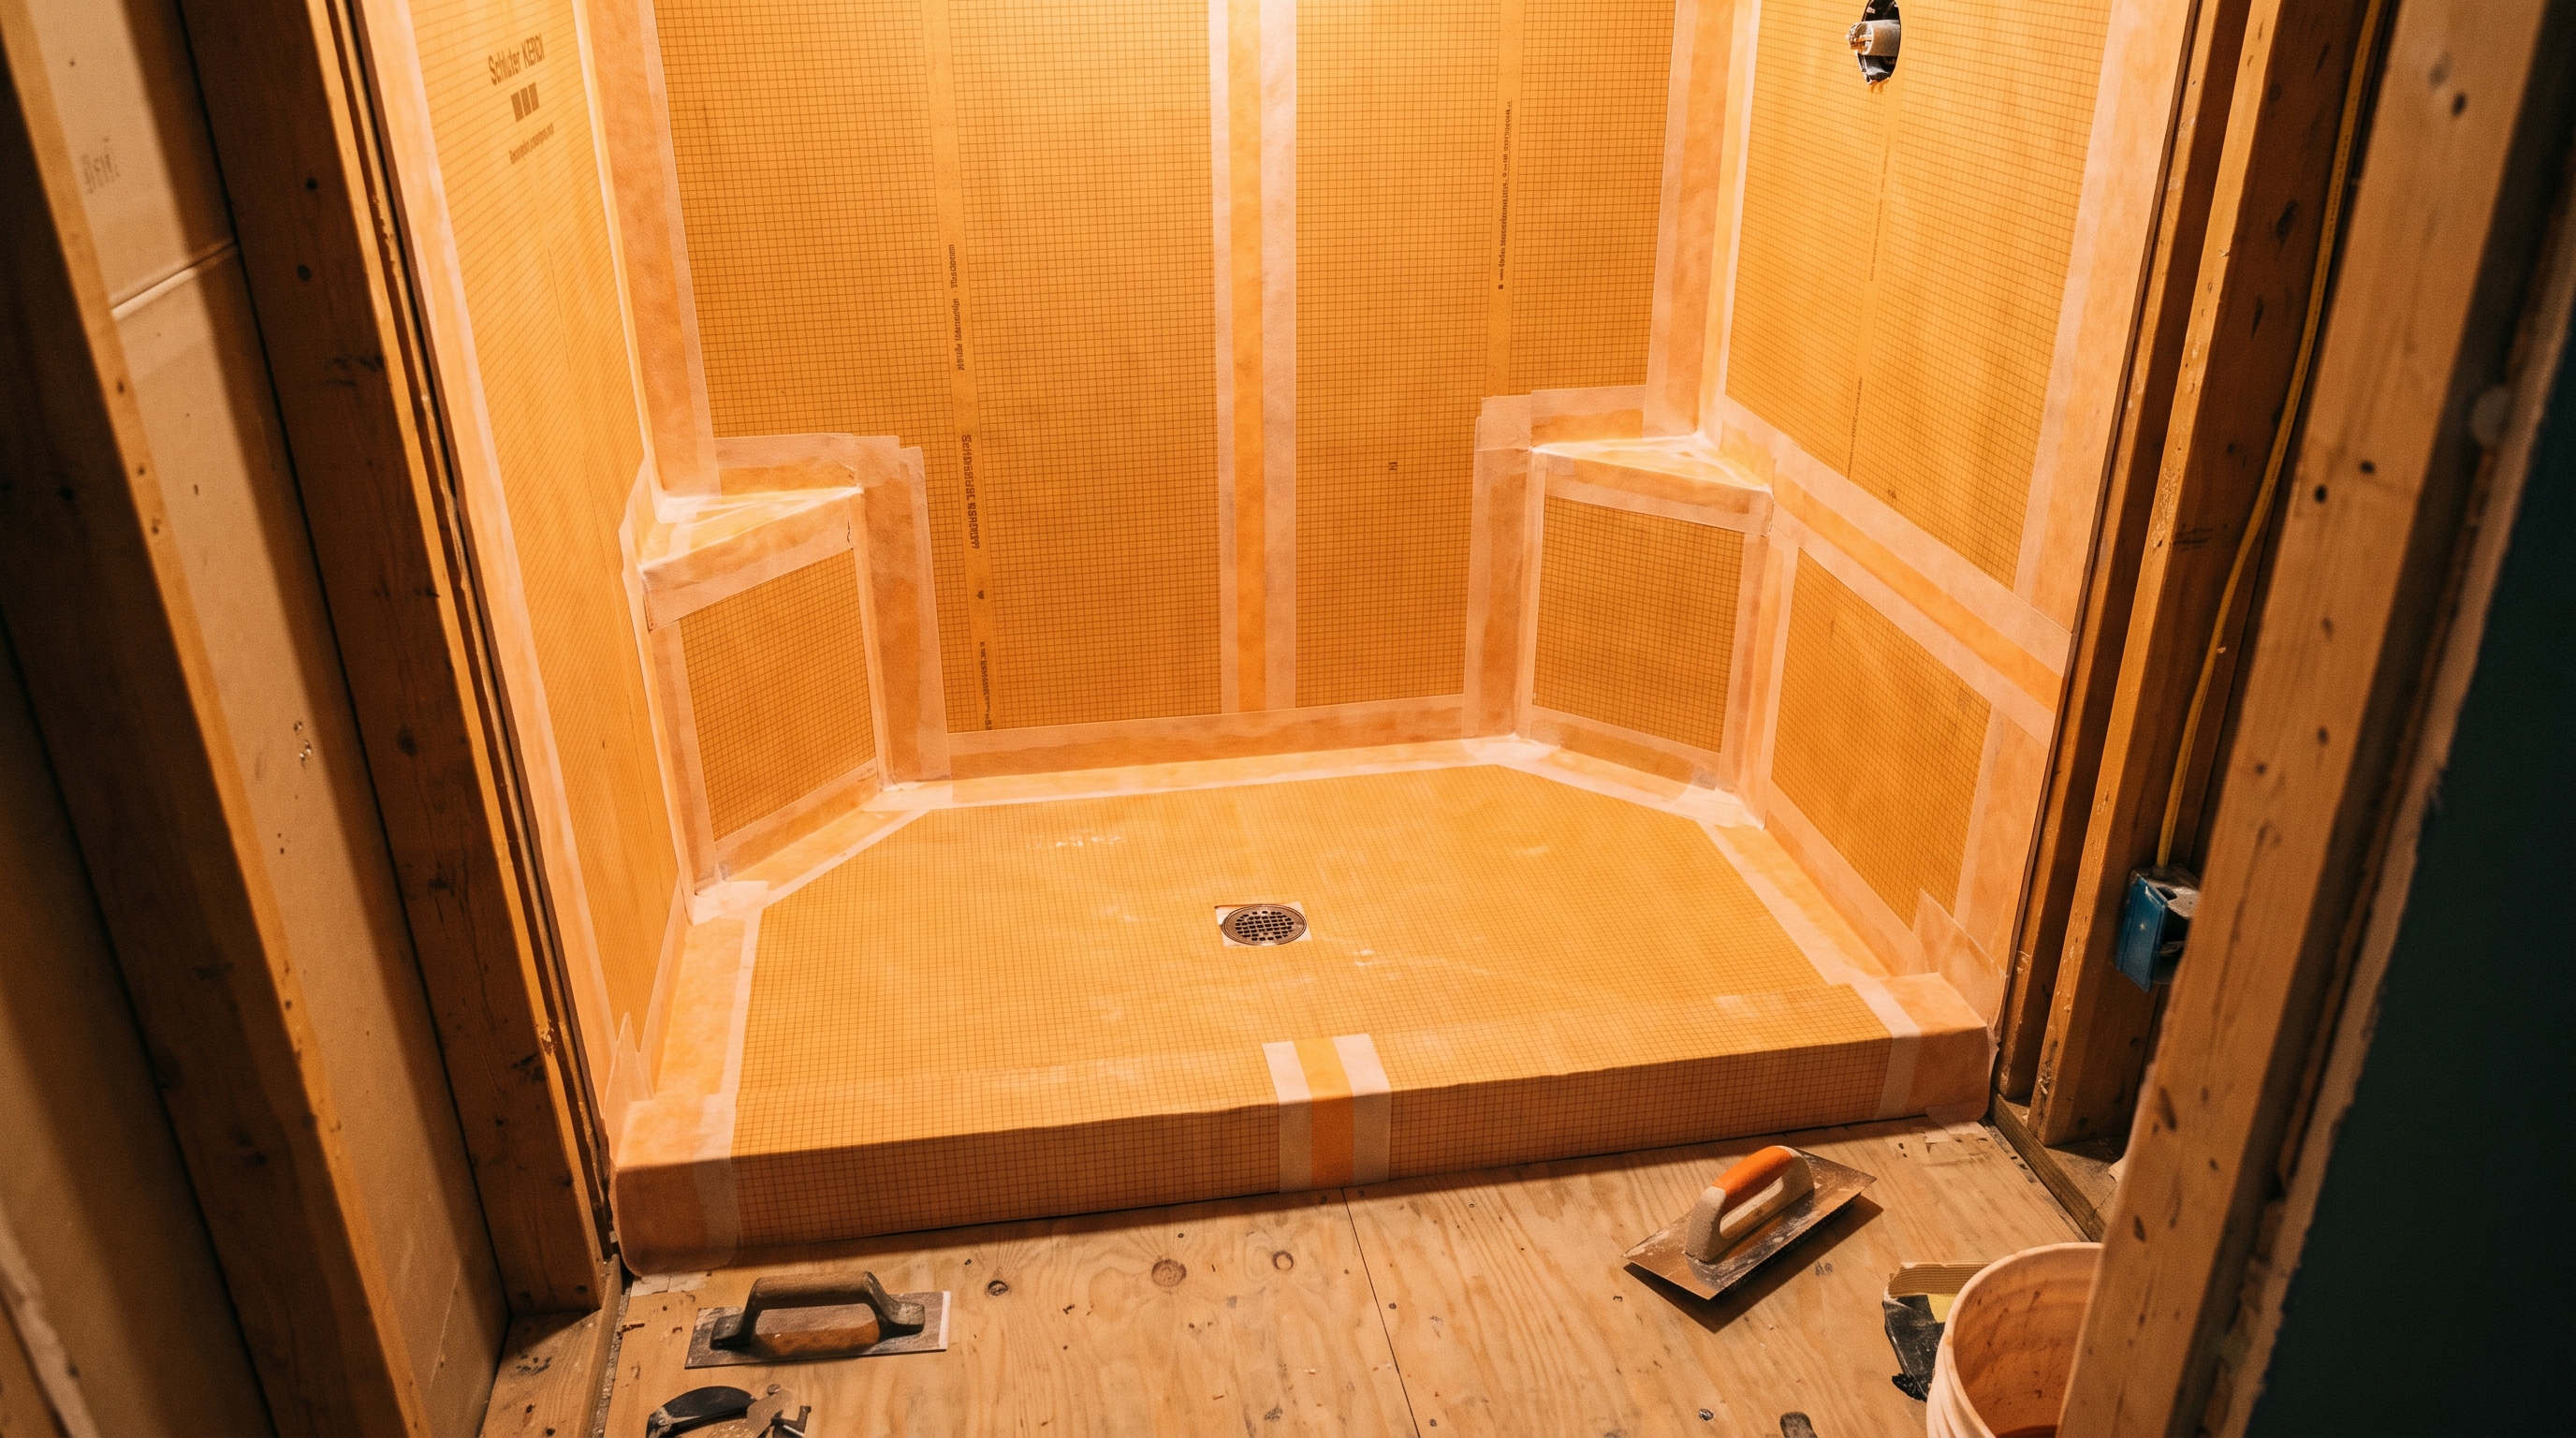
I use the Schluter KERDI system on every shower my crew builds. The membrane, the pre-formed corners, the sealing bands, they create one continuous waterproof envelope. A full system runs $1,600 to $3,200 depending on shower size. In 20-plus years I’ve never had a Schluter shower fail.
That’s the math. Spend $2,000 now or $9,000 later. The work behind the walls matters even though nobody sees it. That’s the standard my dad drilled into me.
Choosing a Contractor on Price Alone

This is the mistake that traps the most people.
A lot of shady contractors underbid on purpose. They win the job at the lowest price, then hit you with change orders once they’ve started. By then your bathroom is gutted. You can’t easily switch. You’re stuck paying whatever they tack on.
I’ve seen the cheap bid end up costing more than the honest one would have. Every time.
When homeowners get three bids with wildly different prices, the gap almost always comes down to three things:
- What waterproofing system does each contractor use?
- Who handles permits, and is that cost in the bid?
- Who’s doing the plumbing and electrical, a licensed sub or unlicensed labor?
A price gap over 20 to 25 percent on the same scope in this market usually means one of those three is getting cut. Ask each bidder to itemize those exact items. The cheapest bid usually leaves something out on purpose so it looks like the best deal.
Before you sign anything, check the WA contractor license through L&I’s online lookup. Verify the bond is active. Unlicensed or lapsed-bond contractors are a recurring source of complaint cases in Pierce County, and you have almost no recourse when the work fails. I wrote more about vetting contractors in my guide on how to avoid common remodeling mistakes.
Good, fast, or cheap. You get to pick two. Anyone promising all three is lying to you.
Skipping the Permit
Some contractors offer to skip the permit to save you time and money. Say no.
Permits aren’t optional when you touch plumbing, electrical, or move walls. In Puyallup and unincorporated Pierce County, those are separate permitting departments, so confirm which one covers your address before anyone applies.
Here’s the part homeowners don’t think about. Unpermitted work is a disclosed issue at resale. I’ve watched deals fall through in South Hill and Sumner because an inspector flagged an unpermitted bathroom. Fixing it after the fact means a retroactive permit, re-inspection, and corrections. That runs $3,000 to $12,000-plus in this county, and it can delay your closing.
A permit also means an inspector checks the work. That’s a second set of eyes making sure your plumbing and electrical are done right. That protects you. For a full breakdown, see my post on whether you need a permit to remodel in Puyallup.
Not Budgeting for What’s Behind the Walls
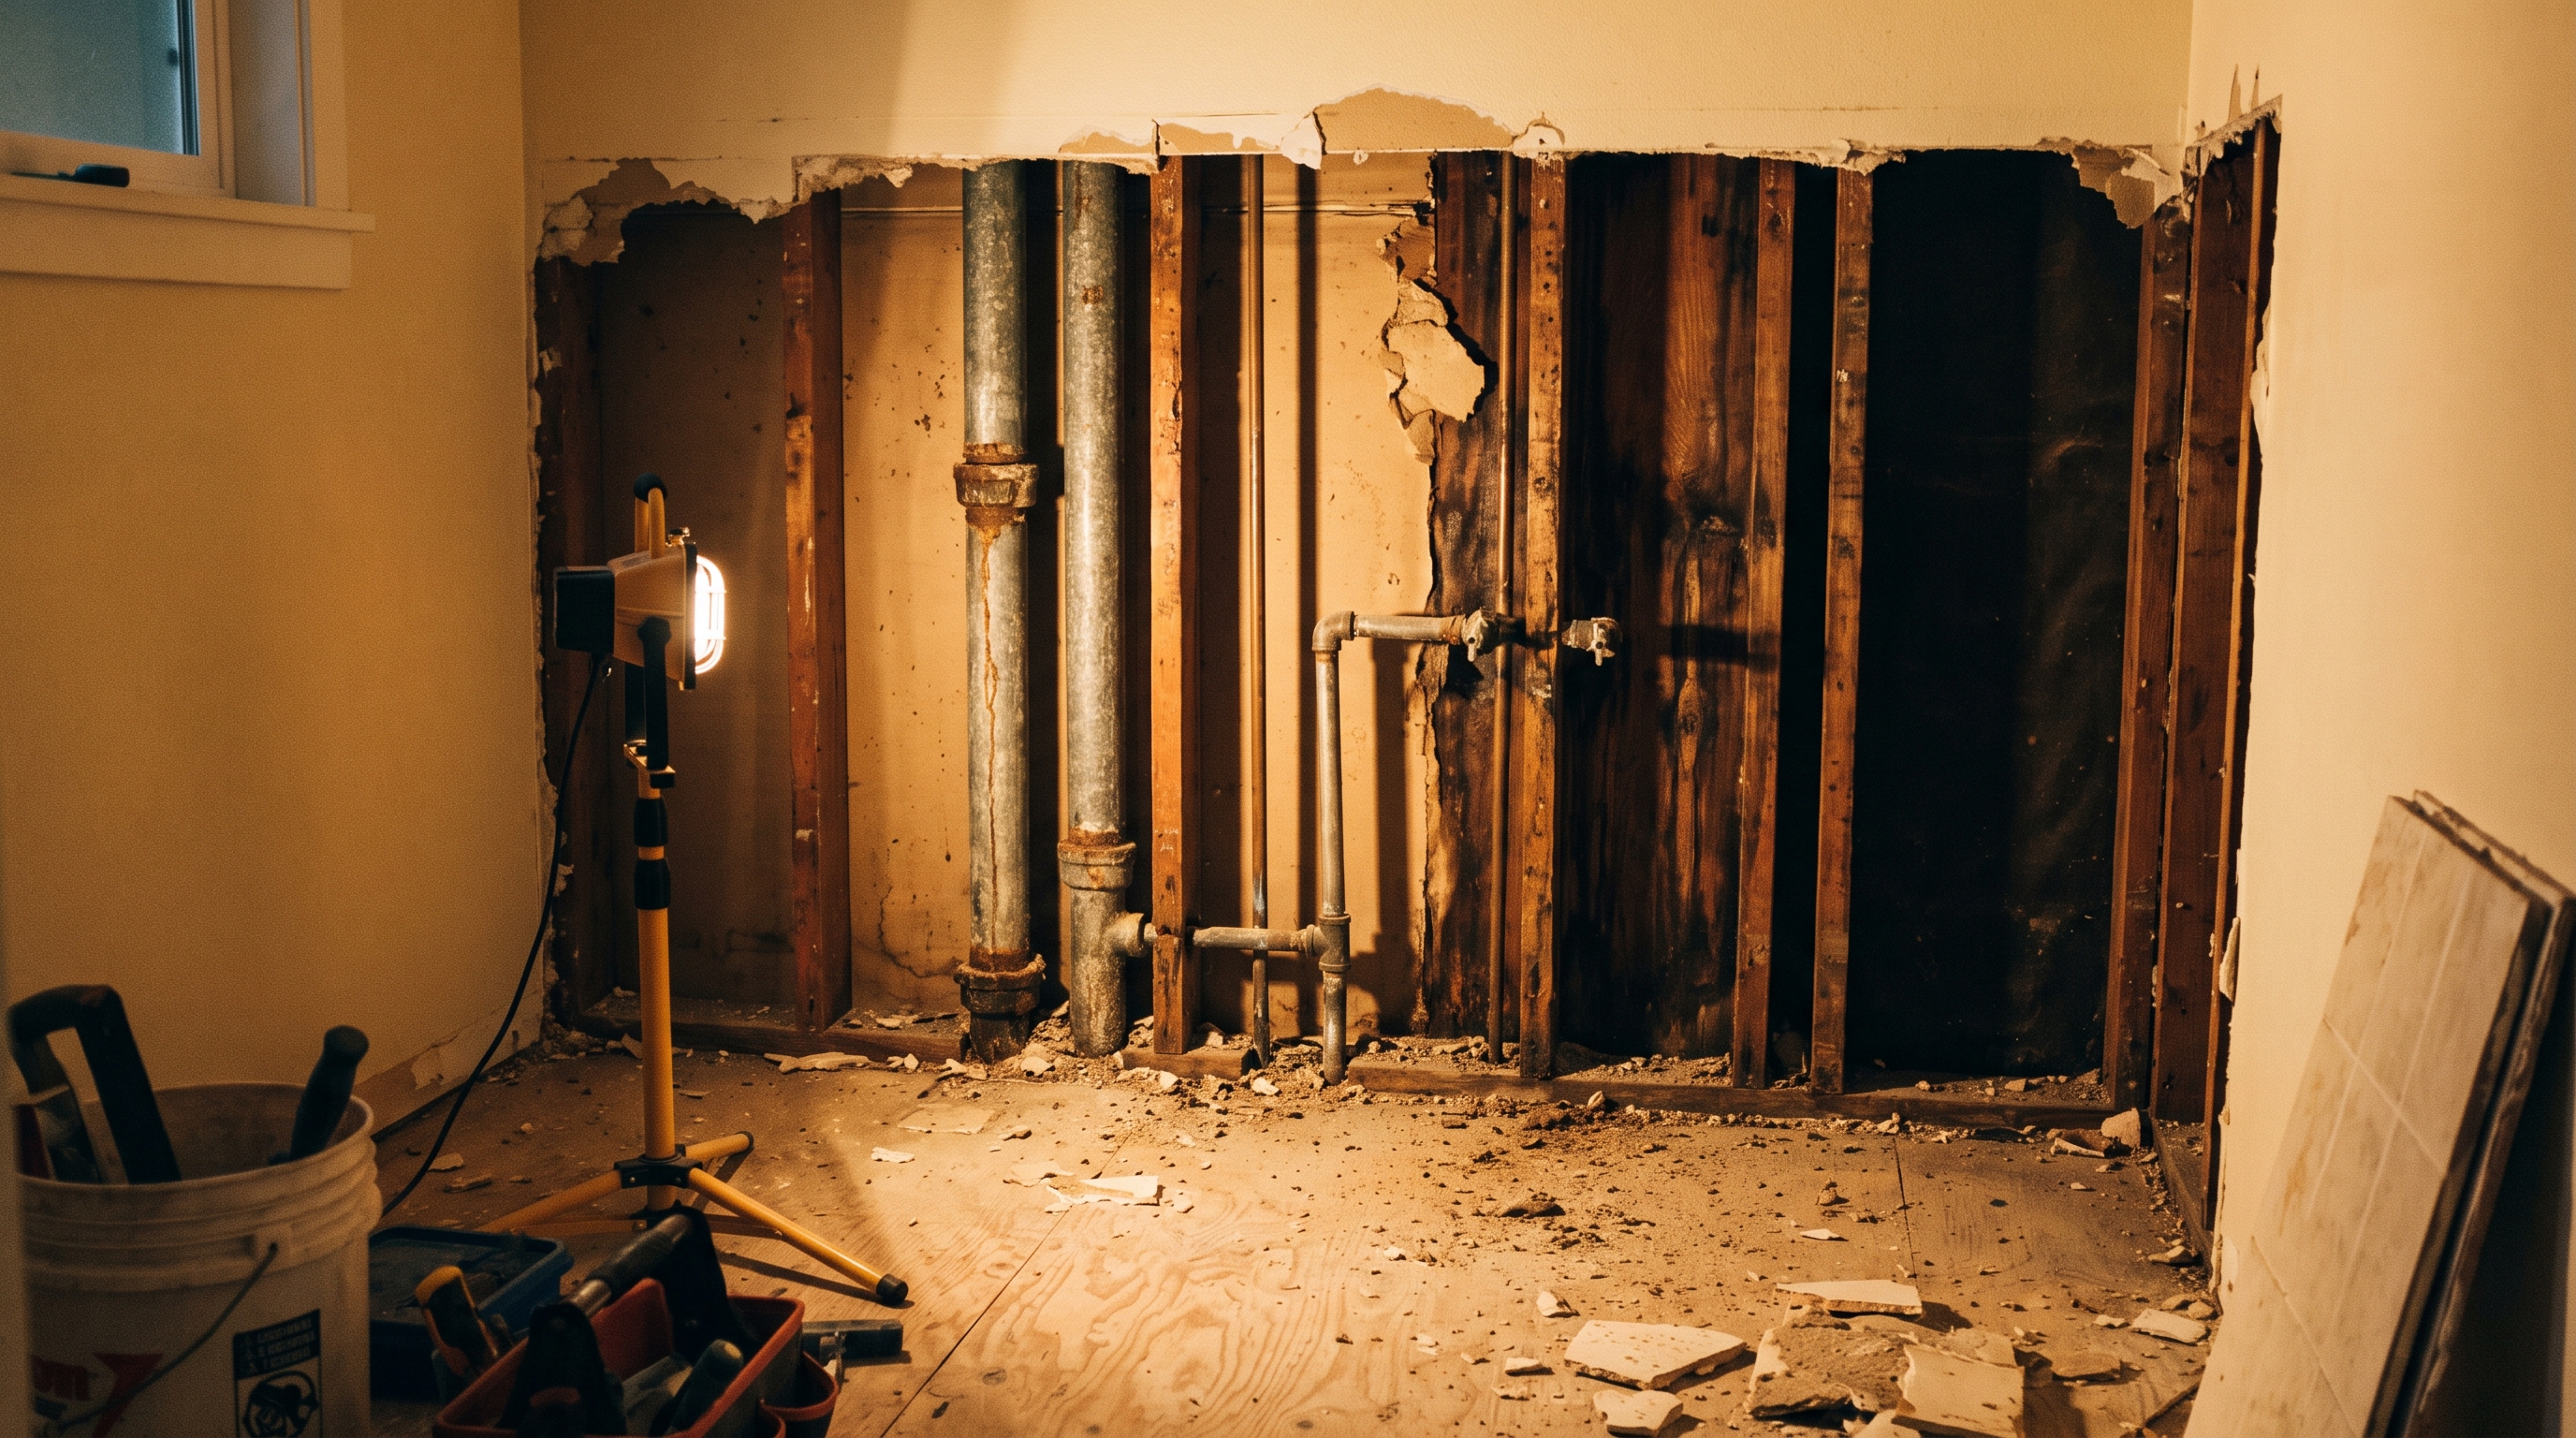

Most homeowners treat the quoted price as the final price. In an older home, that’s a mistake.
I’ve been burned myself early on, underbidding jobs where the hidden scope blew up on demo day. Rot. Old wiring. Plumbing that wasn’t up to code. You can’t always see what you’re dealing with until the walls come open.
A lot of Puyallup-area homes were built between the 1940s and 1970s. Firgrove, the Meridian corridor, older South Hill. Many still have galvanized or cast-iron plumbing and 60 to 100 amp electrical panels. Touch one system and you often have to bring others up to current code.
Budget a 10 to 15 percent contingency on any pre-1980 home. That’s not padding. On older Pierce County housing stock, hidden plumbing or electrical surprises are close to a certainty.
Know your real budget before you call anyone. Not what you hope it costs. What you can actually spend. Then add the contingency on top.
Reusing Old Plumbing Without Checking It First
Reusing your existing plumbing locations can be a smart way to save money. The mistake is doing it blind.
In those 1950s to 1970s Puyallup homes, old galvanized supply lines are already near the end of their life. If you tile right over them to save a few hundred dollars, you’ve just hidden a future leak behind brand-new finishes. When that pipe lets go, you’re opening the wall you just paid to close.
I always check pipe condition before I decide what to reuse. Sometimes the right call is a partial repipe while the wall is open and cheap to access. A good plumber walk-through before you finalize the layout saves you from the expensive version of this problem. If you’re dealing with recurring issues, my guide on common plumbing problems and when to call a plumber covers the warning signs.
Picking Finishes Before Confirming the Layout Works
This one causes more mid-project delays than almost anything else.
Homeowners fall in love with a Pinterest layout. They order the tile, the vanity, the custom glass. Then they find out moving the toilet three feet means new drain lines, or the valve sits at the wrong height, or the glass opening doesn’t match the tile layout.
Nail down the rough-in before you order anything:
- Valve placement and height
- Fan location and duct routing
- Outlet and GFCI placement
- Drain locations for toilet, shower, and vanity
- Final shower dimensions, taped out on the actual floor
Custom glass enclosures are the worst offender. They have long lead times, so people order them early. Then the tile layout forces a different opening and the glass can’t be returned. That’s a late-stage budget-buster I see over and over.
There are real clearance rules too. Code requires 21 inches clear in front of a toilet and 15 inches from the toilet centerline to any side wall or obstruction. Cram the layout past those and correcting it after rough plumbing is set runs $800 to $2,500.
Undersizing the Shower to Get a Bigger Vanity
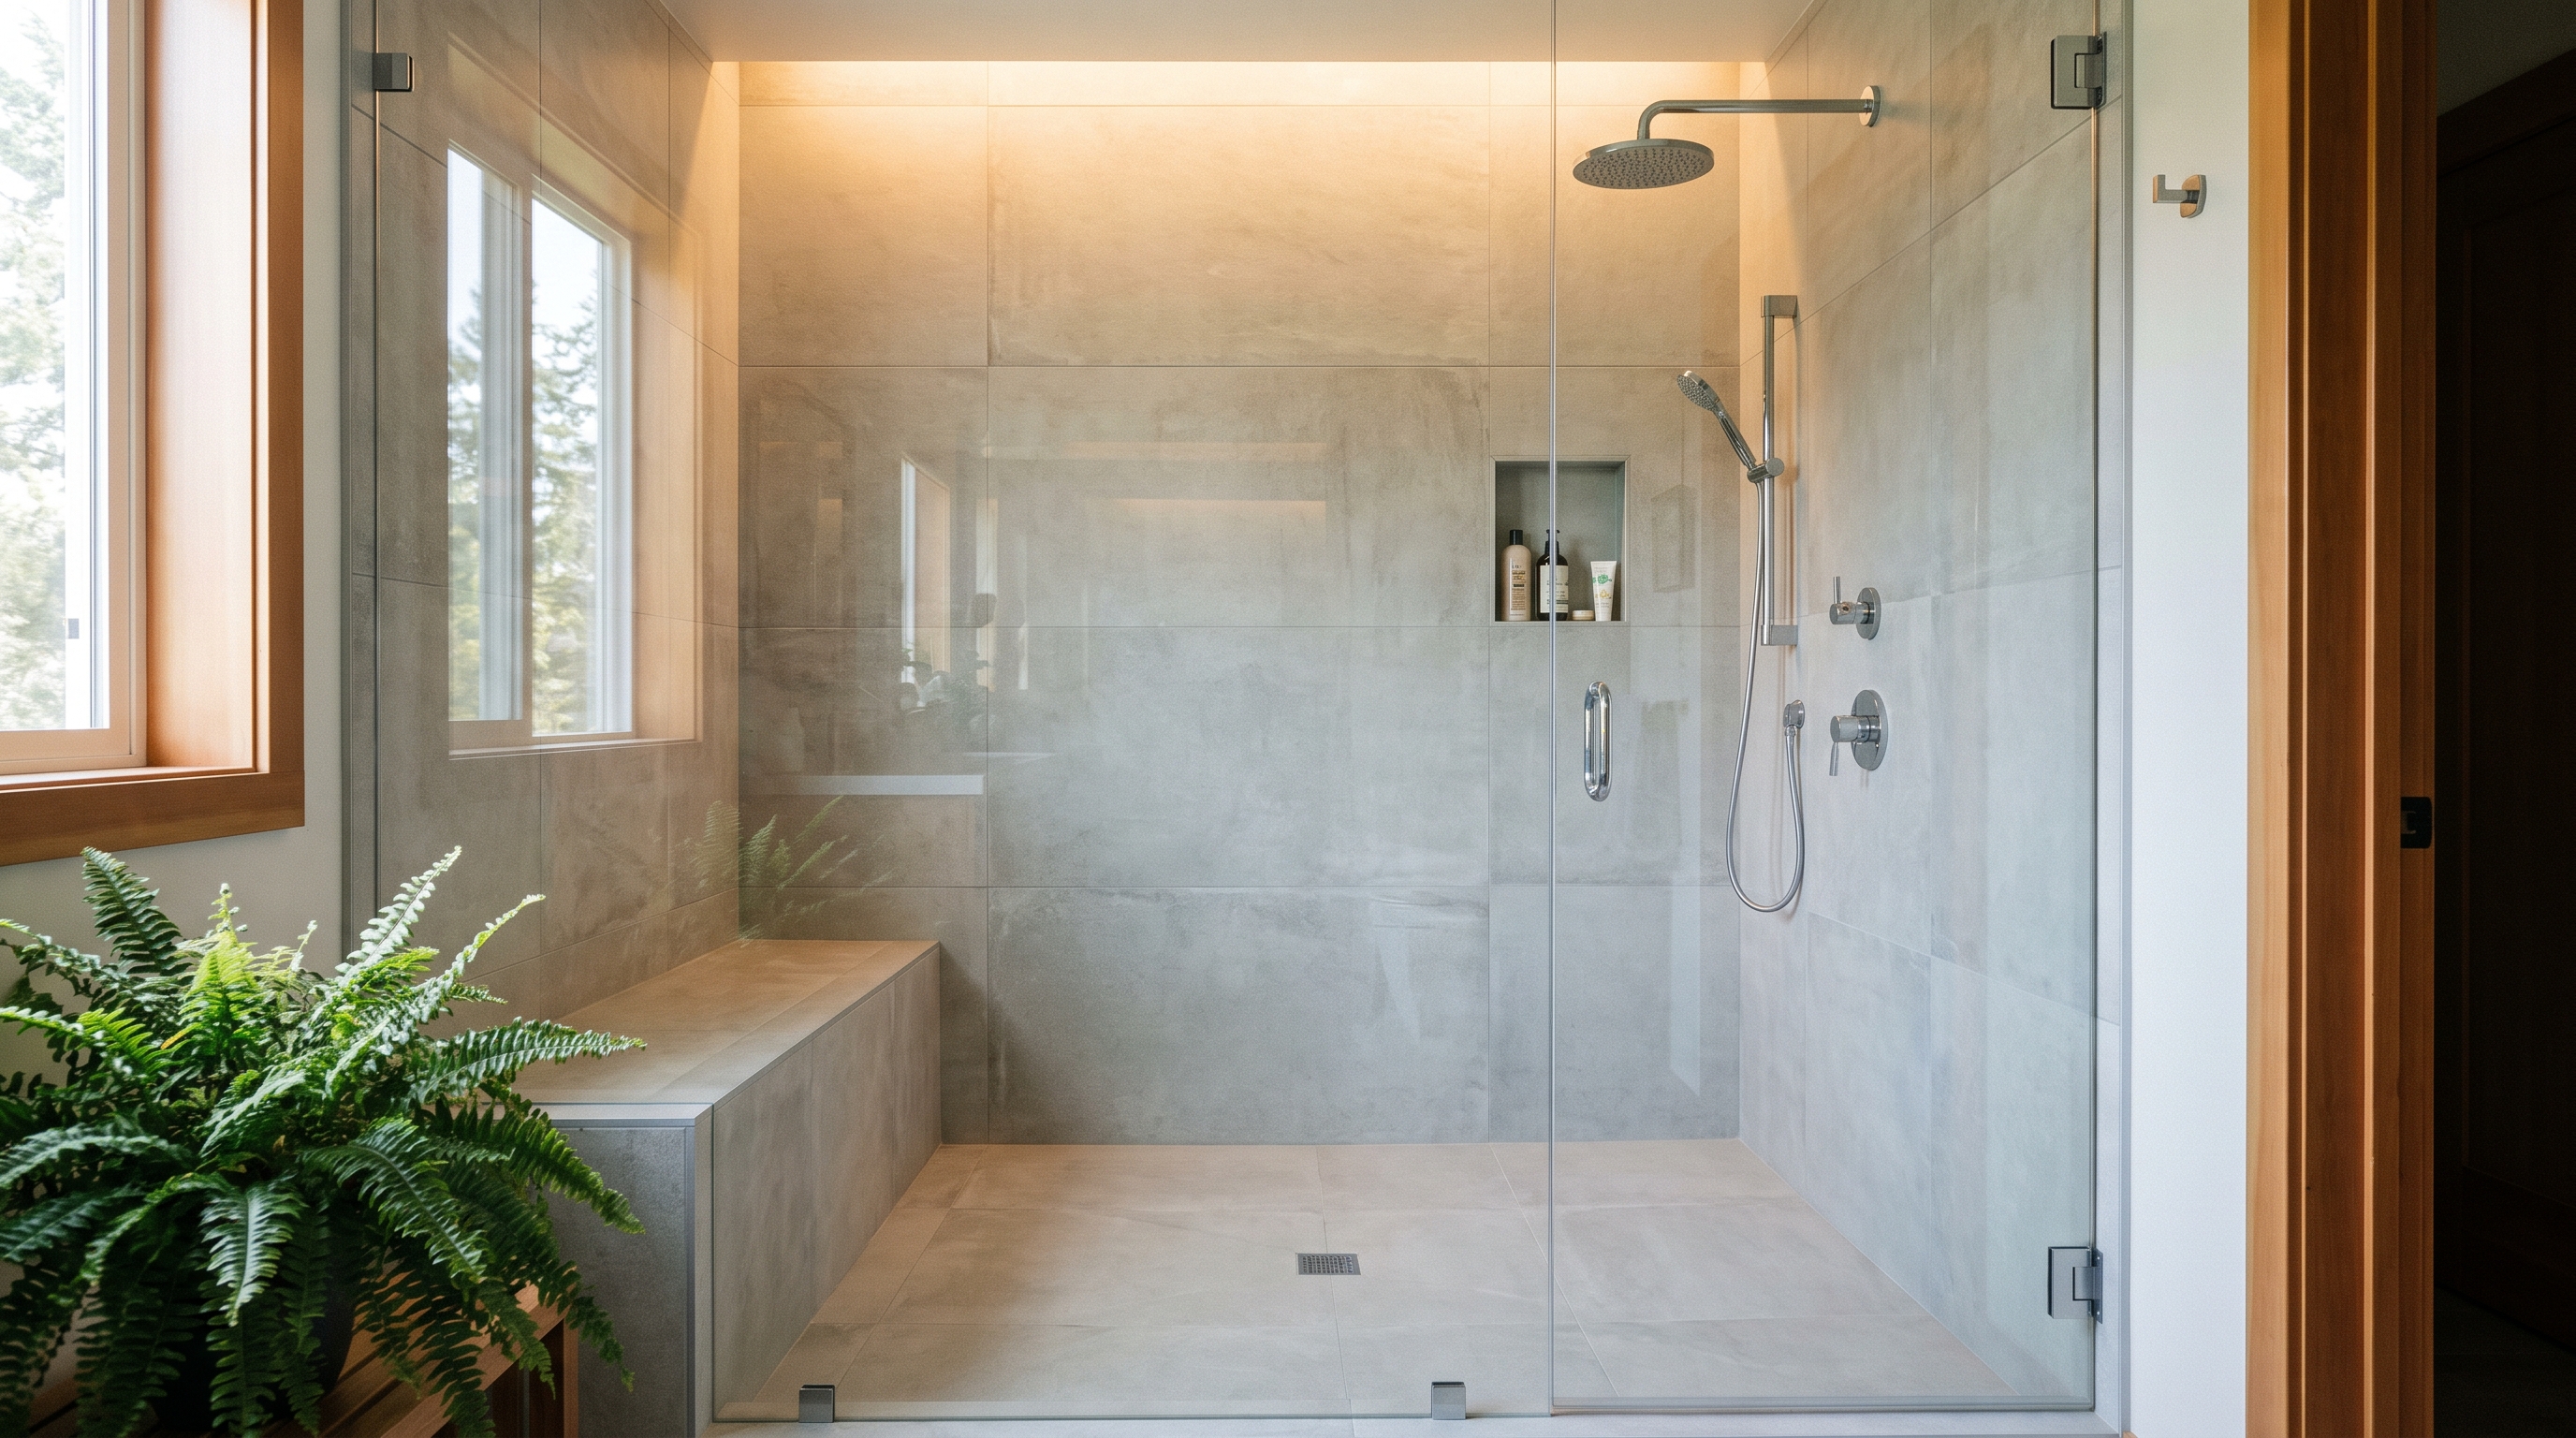

The most common layout regret I hear about locally is a cramped shower.
Homeowners chase a big double vanity because it looks great in photos. They shrink the shower to make room. Then they use the shower every day and the vanity twice a day, and they wish they’d flipped the priorities.
My minimum for a comfortable single shower is 36 by 48 inches. For a better feel, go 36 by 60. If you want a bench or a curbless entry, aim for at least 60 by 60. Tape it out on the existing floor and stand in it before you commit. Dimensions on paper lie to you. Your body doesn’t.
If you’re working with a tight footprint, my small bathroom remodel ideas for Puyallup homeowners covers how to make every inch count. For a larger primary bath, the master bathroom layout ideas post walks through the tradeoffs.
Getting the Exhaust Fan Wrong

In our climate, ventilation isn’t a nice-to-have. It’s what keeps mold and rot out of your new bathroom.
I see two versions of this mistake. First, buying a fan on price, usually a sub-$40 big-box unit that’s too weak for the room. Second, venting that fan into the attic instead of outside, which just dumps moisture into your framing and causes the exact rot you were trying to prevent.
Washington code requires bath fans ducted to the exterior, and a minimum of 50 CFM for intermittent use. For a larger walk-in shower I spec 80 to 110 CFM. Keep the duct run short and straight, and insulate it where it passes through a cold attic.
Doing the fan right the first time runs $300 to $600. Fixing a poorly vented fan later, cutting a new roof or wall penetration through a finished ceiling, runs $600 to $1,800.
I like the Panasonic WhisperFan and Broan Flex series, and I install humidity-sensing units that run on their own until the moisture clears. My bathroom exhaust fan replacement guide goes deeper on sizing if you want the full rundown.
Using the Wrong Materials at Movement Joints
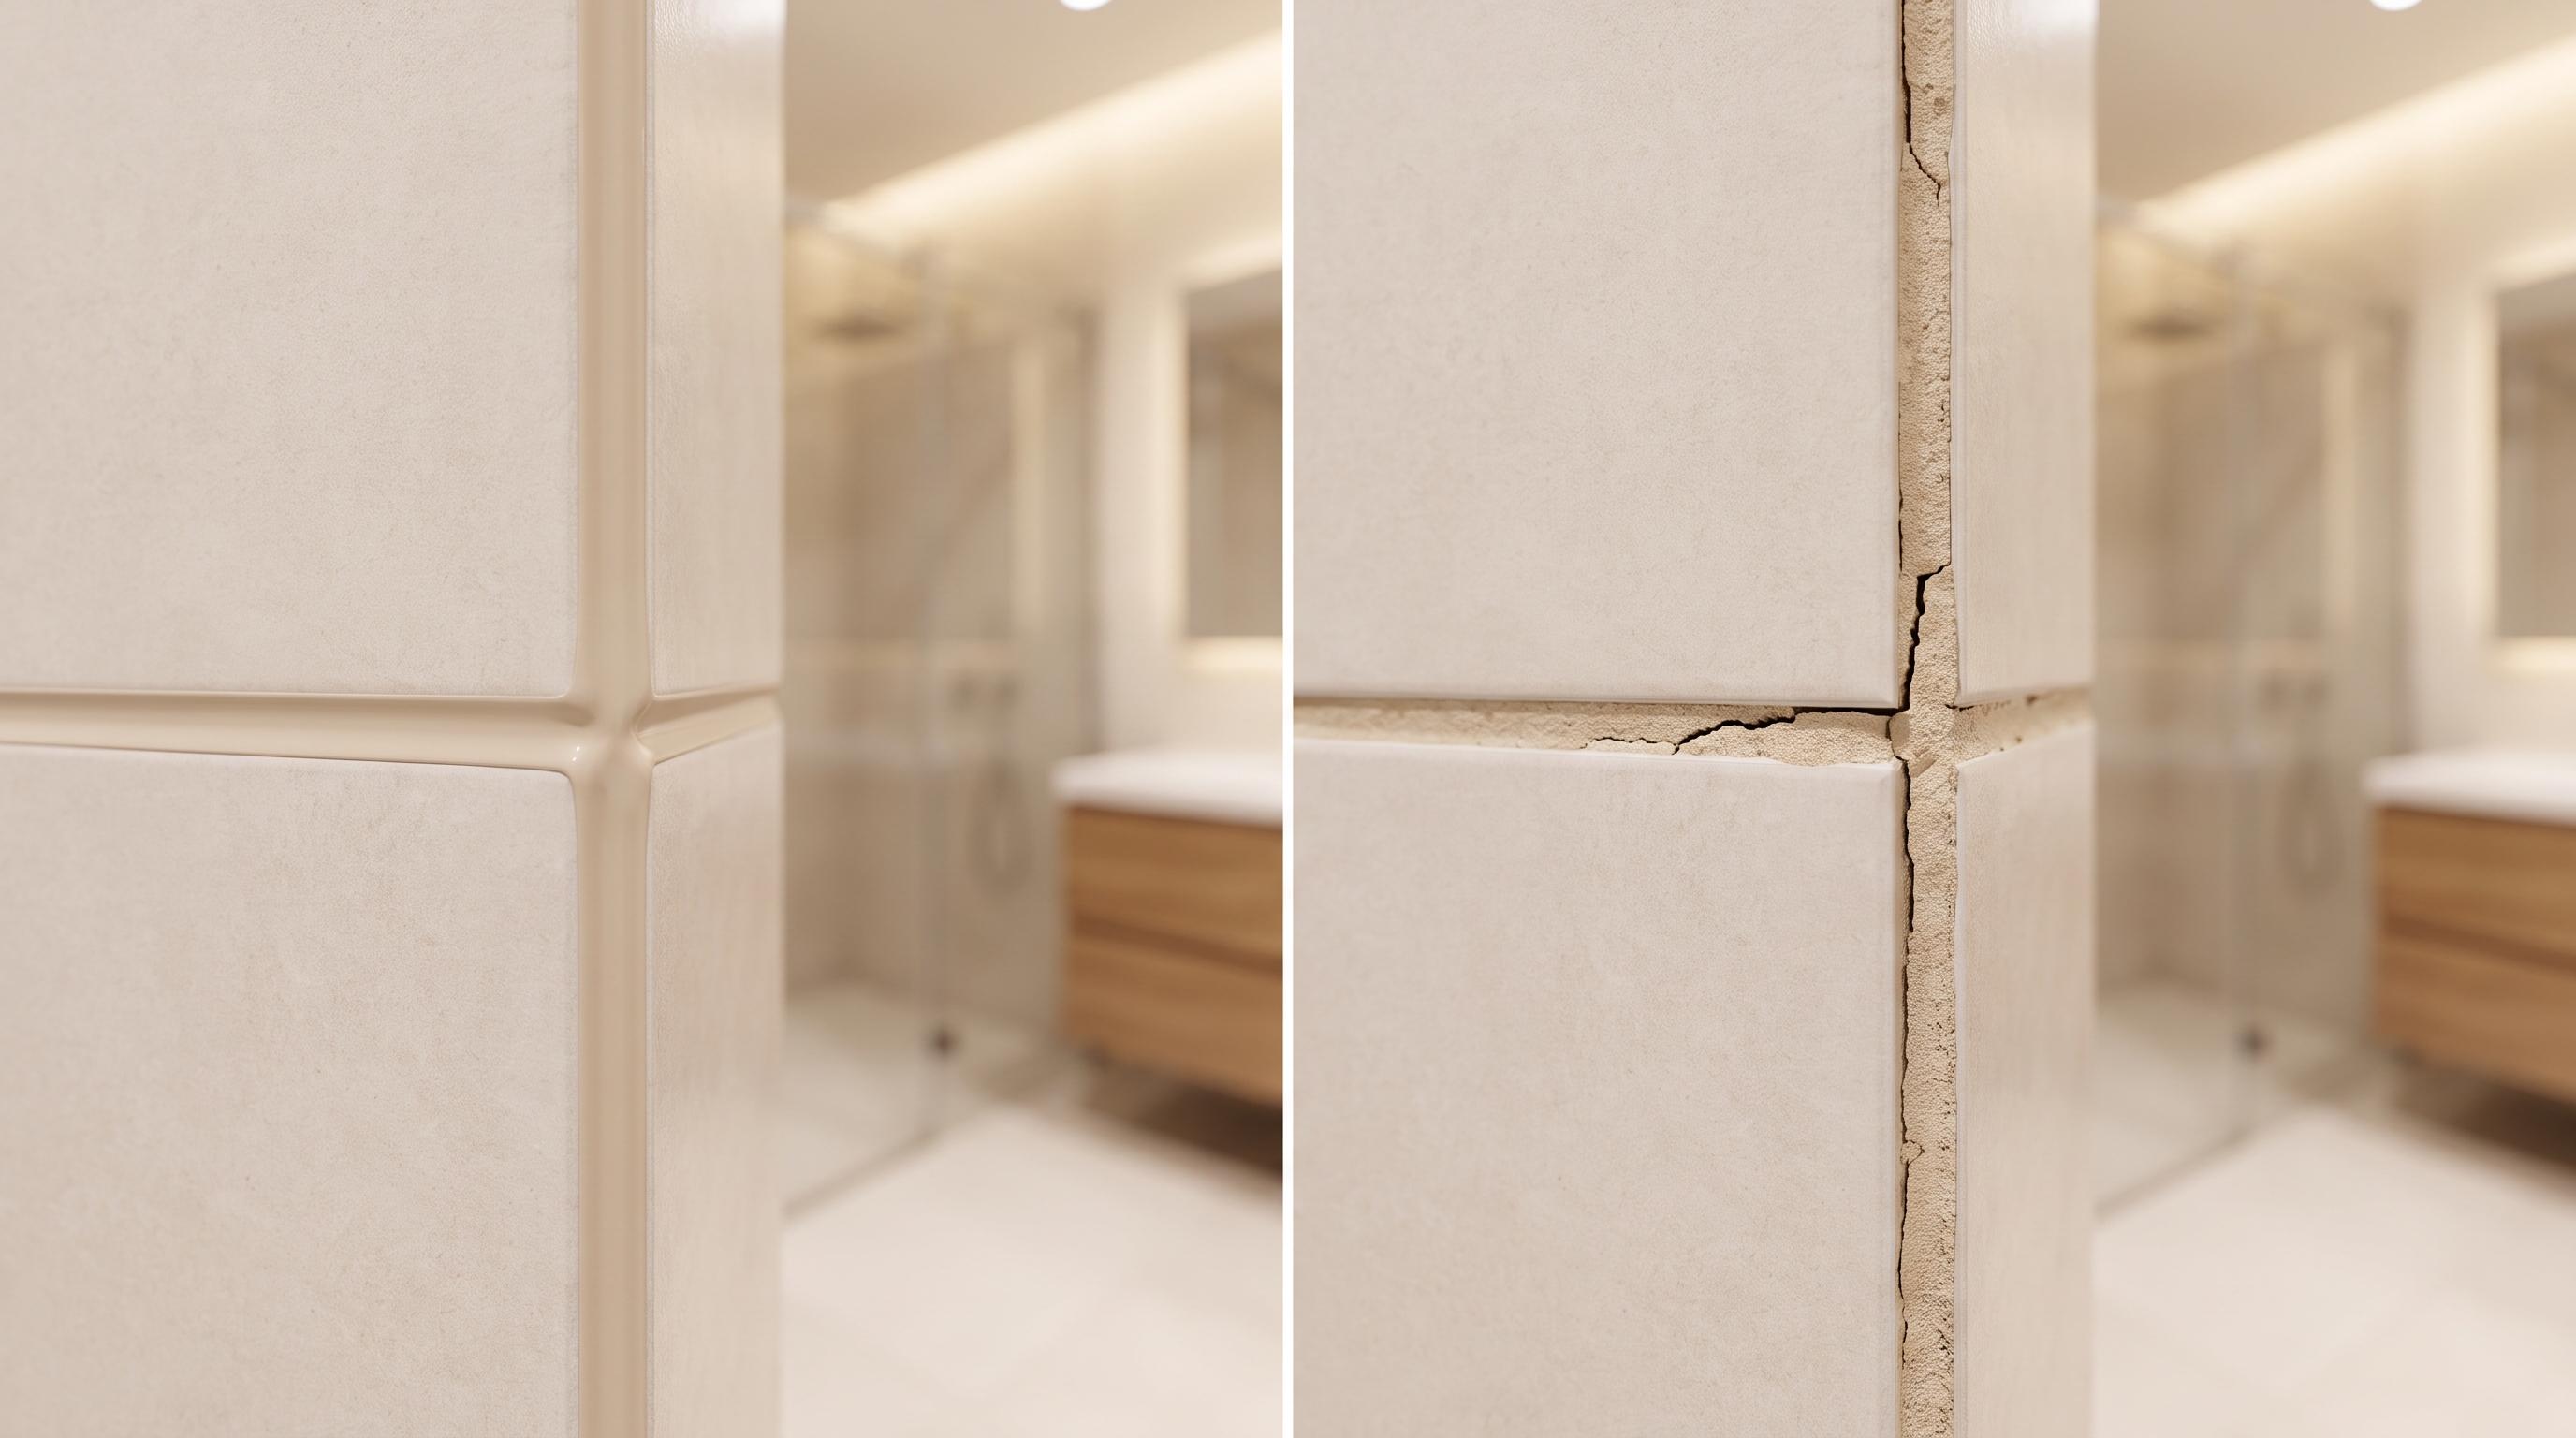
This one looks small and causes real headaches.
A very common budget-contractor move is grouting the inside corners and the joint where the shower floor meets the wall. Grout is rigid. Your house moves with the seasons. So the grout cracks, water sneaks in, and you’re back to the waterproofing problem from the top of this list.
The right material at every movement joint is 100 percent silicone caulk, color-matched to your grout. GE Supreme Silicone or a quality matched sealant. Corners, floor-to-wall transitions, anywhere two planes meet.
Same idea with the subfloor. Setting cement board directly over an old OSB or particleboard subfloor without an uncoupling layer invites cracked tile down the road. On older Puyallup homes with some settling, I use Schluter DITRA to handle subfloor movement and keep the tile from telegraphing every dip. If you’re still choosing surfaces, my bathroom tile ideas for 2026 and bathroom flooring options and costs posts lay out what holds up here.
A Real Bonney Lake Project: Fixing Someone Else’s Mistakes
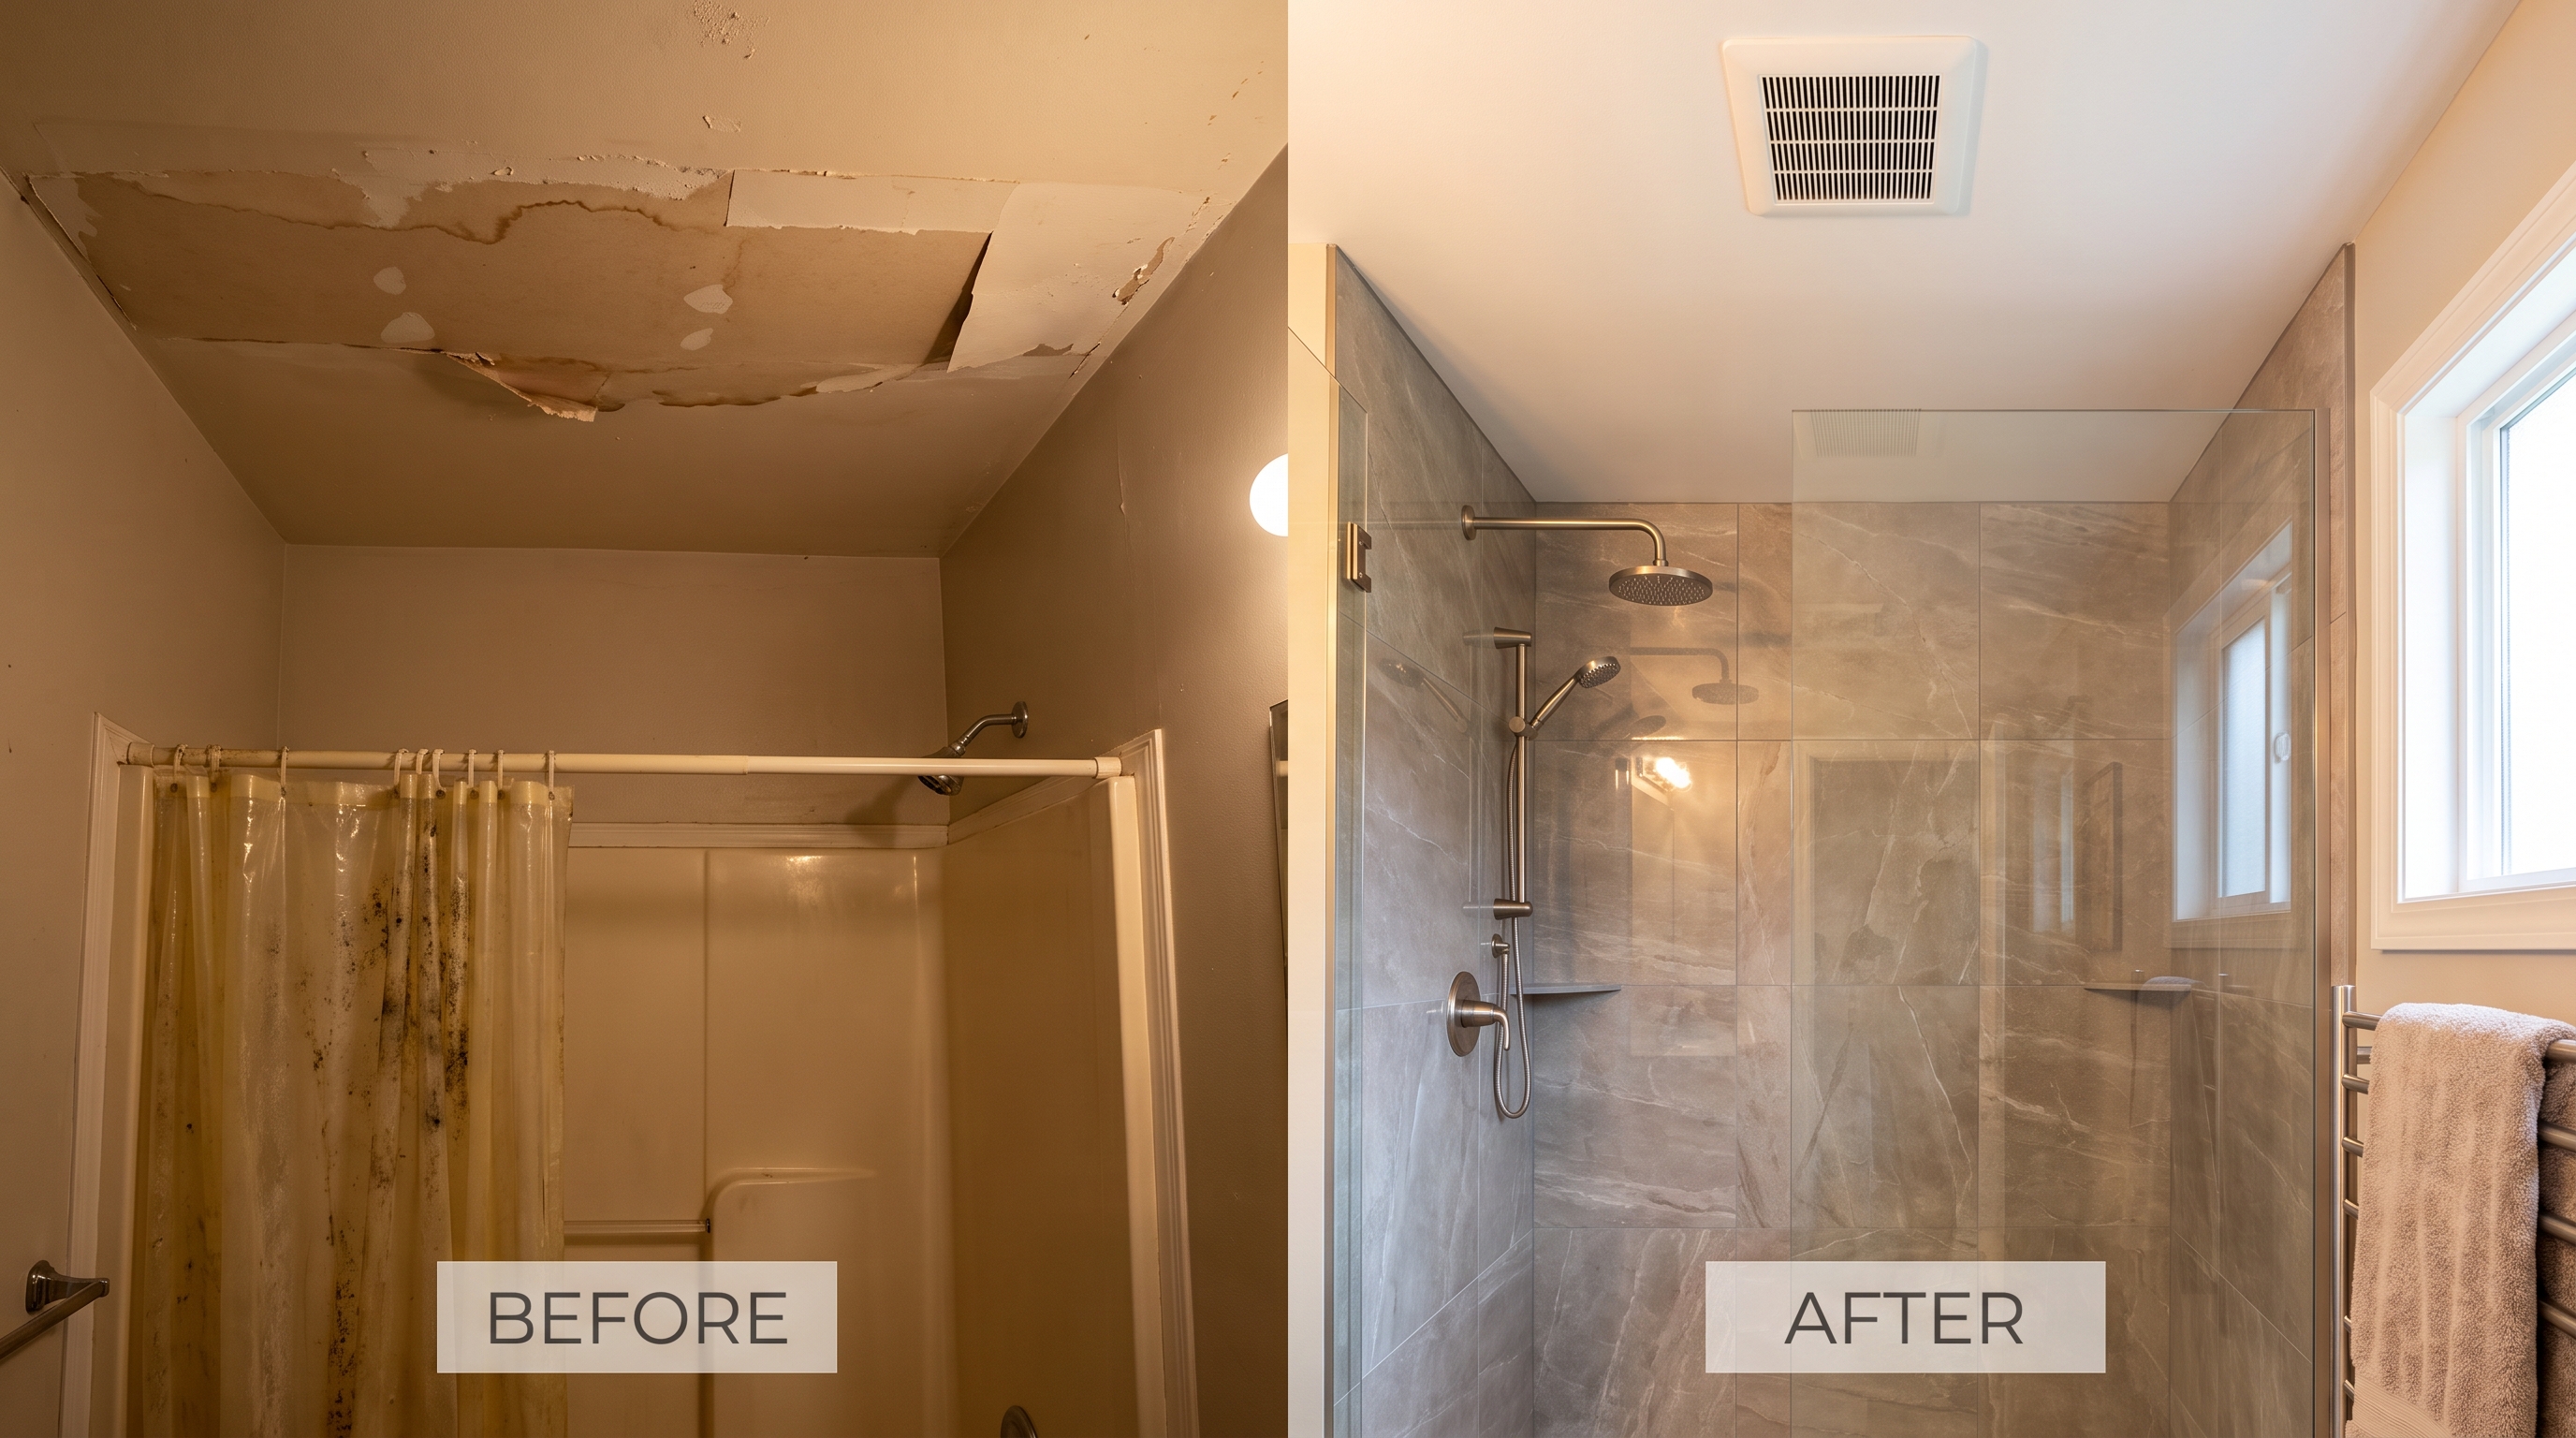
Last year a couple in Bonney Lake called me after their primary bathroom shower, remodeled by someone else about two years earlier, started staining the ceiling of the room below.
I opened it up. No membrane system. The previous crew had used plastic sheeting and grouted the corners. Water had been wicking into the subfloor for months. The joists were soft in one spot.
Here’s roughly how that job broke down:
| Scope | What It Covered | Cost |
|---|---|---|
| Demo and rot removal | Full tear-out, haul-off, drywall below | $2,900 |
| Framing and subfloor repair | Sister two joists, new subfloor panel | $3,400 |
| New KERDI waterproofing system | Membrane, pan, corners, sealing bands | $2,600 |
| Tile, glass, fixtures, fan upgrade | Large-format porcelain, 90 CFM fan | $11,800 |
| Total | $20,700 |
The original remodel cost them around $9,000. The redo cost more than twice that, because the first crew skipped the $2,600 that mattered most. The job ran about five weeks, including the extra time to dry out the framing before I closed anything up. That dry-out step matters here. In our damp months, rushing a new shower into use within a day or two of tile-setting traps moisture and invites early grout failure.
I’ve done similar corrective work for homeowners in Tacoma, Sumner, and Edgewood. The pattern is almost always the same. Someone saved money in the one place you should never save it.
A Pre-Remodel Checklist Before You Hire Anyone
Run through this before you sign a contract:
- I know my real budget, plus a 10 to 15 percent contingency
- I’ve verified the contractor’s WA license and active bond through L&I
- I’ve seen references and actual past projects, not just a sales pitch
- I know what waterproofing system they use and what warranty backs it
- The bid itemizes permits, plumbing, and electrical
- I have a clear vision so I’m not making costly changes mid-project
- The layout is taped out and I’ve stood in the shower footprint
- We’ve confirmed rough-in locations before ordering any finishes
Know what you want before you start. Indecision during the project costs money. Every “actually, can we change that?” adds time and cost.
Frequently Asked Questions
What is the most common bathroom remodel mistake? Skipping or cutting corners on waterproofing. It’s the one that does the most damage and costs the most to fix. In our wet climate, a shower built without a proper membrane system can rot the subfloor within a couple of years. Redoing it runs $4,000 to $9,000, and far more if the rot spreads. Ask any contractor exactly what waterproofing system they use before you talk about tile.
How much should I budget for surprises in an older home? Plan for 10 to 15 percent on top of the quoted price. A lot of Puyallup and Pierce County homes built before 1980 have galvanized plumbing or small electrical panels hiding behind the walls. Once we open things up, bringing those up to code is a near-certainty, not a rare event. I’d rather set that expectation upfront than surprise you on demo day. My bathroom remodel cost guide for Puyallup breaks the full numbers down.
Can I skip the permit if my contractor suggests it? No. Unpermitted plumbing and electrical work is a disclosed issue at resale and can hold up or kill a home sale in Pierce County. Correcting it later with a retroactive permit runs $3,000 to $12,000-plus. The permit also puts an inspector’s eyes on the work, which protects you.
How do I tell if a cheap bid is cutting corners? Ask every bidder to itemize three things: the waterproofing system, who handles permits, and who does the plumbing and electrical. A price gap over 20 to 25 percent on the same scope almost always traces back to one of those three. The cheapest bid usually leaves something out so it looks like the best deal, then makes it up with change orders once you’re committed.
Is a tub worth keeping for resale? Keep at least one tub in the house, usually the hall or guest bath. Families with young kids want one, and appraisers note whether a home has a tub. Convert your primary bathroom to the walk-in shower you’ll actually use, and leave a tub elsewhere. I covered this tradeoff in detail in my walk-in shower ideas and costs post.
Also Serving These Pierce County Communities
My crew and I handle bathroom remodels across the South Sound, including Tacoma, Sumner, Bonney Lake, Edgewood, and South Hill. Same standard on every job, no matter the town.
Let’s Make Sure Your Remodel Is Done Right
Most of these mistakes trace back to one thing: choosing fast or cheap over done right. I treat every bathroom like it’s my own mom’s house. That means honest numbers, a real waterproofing system, and no surprises buried in the fine print.
If you’re planning a bathroom remodel in Puyallup or anywhere in Pierce County, I’d like to walk through your space and give you a straight estimate. Every bathroom is different, and the only way to get an accurate number is to see it.
Call me at (253) 392-9266 or contact us to schedule your free in-home estimate. I’ve been in the trades over 20 years, and I’ll tell you the truth about what your project needs, even the parts you can’t see.
Brad Zemke, Owner Pacific Remodeling LLC Puyallup, WA